Airport Mesa Loop Trail: A 360° Walk Around the Mesa
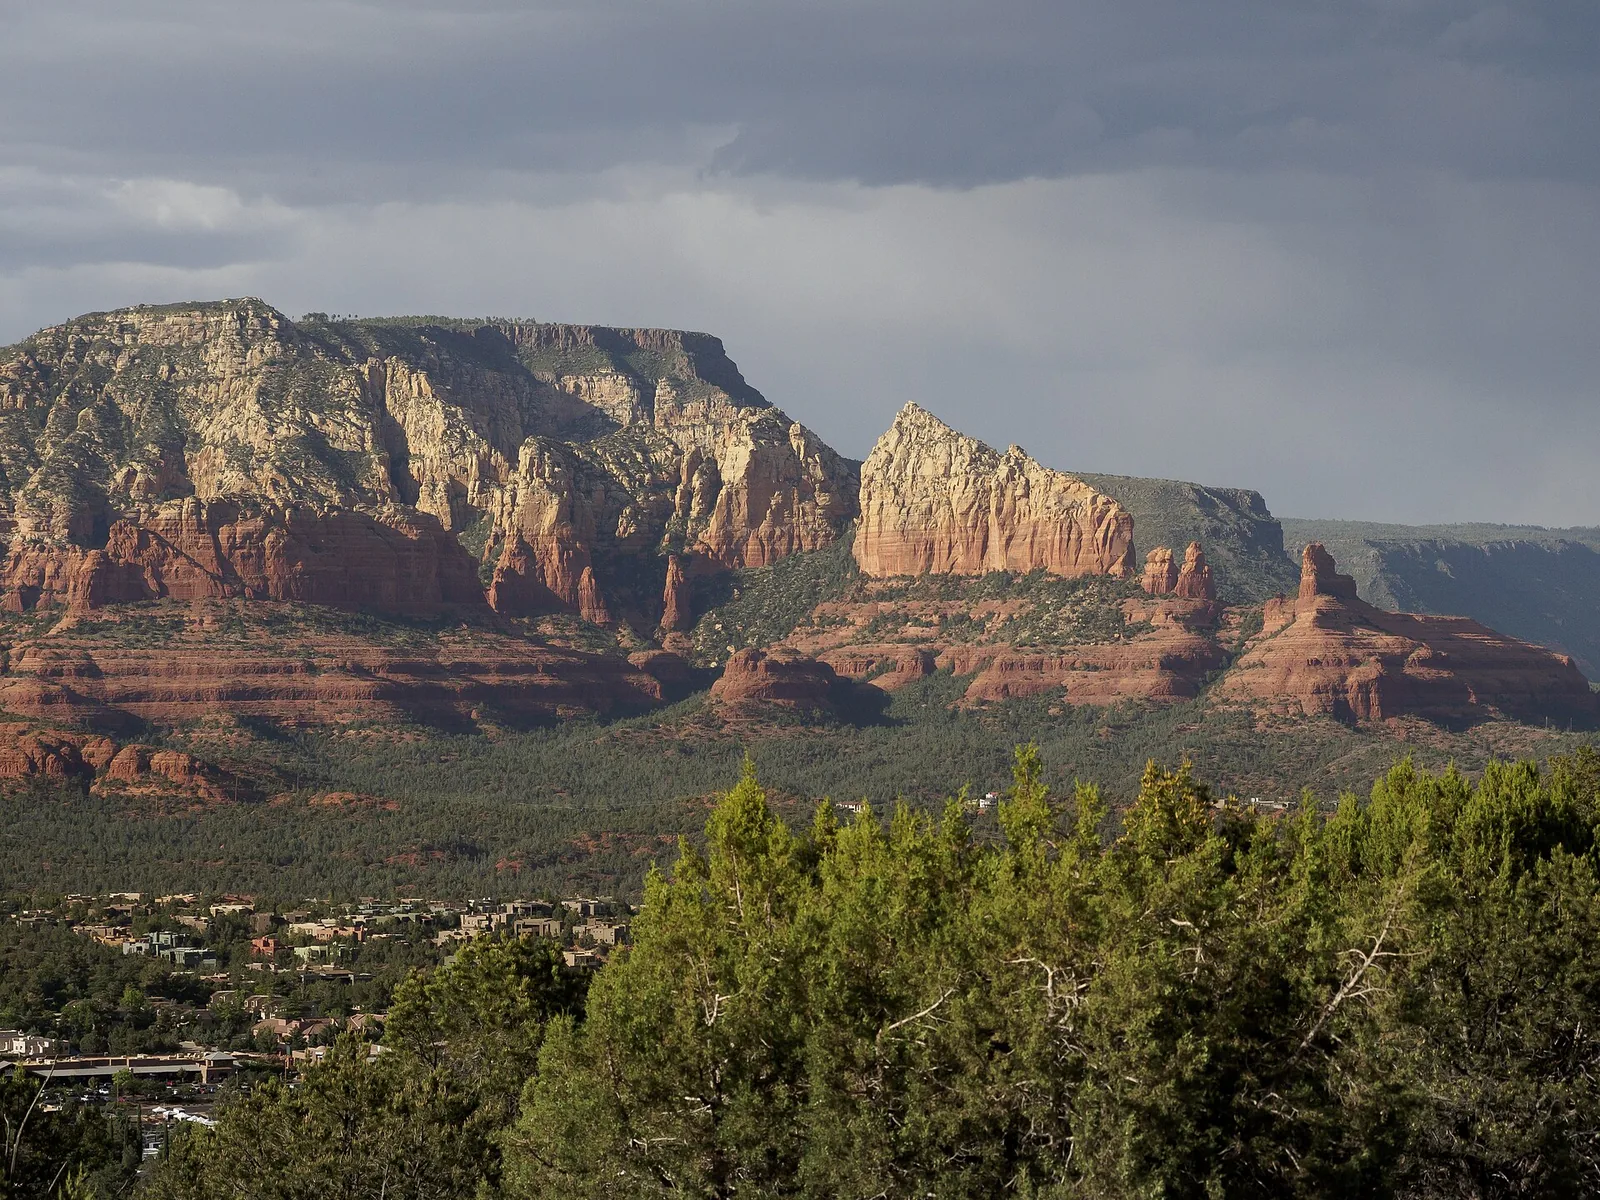
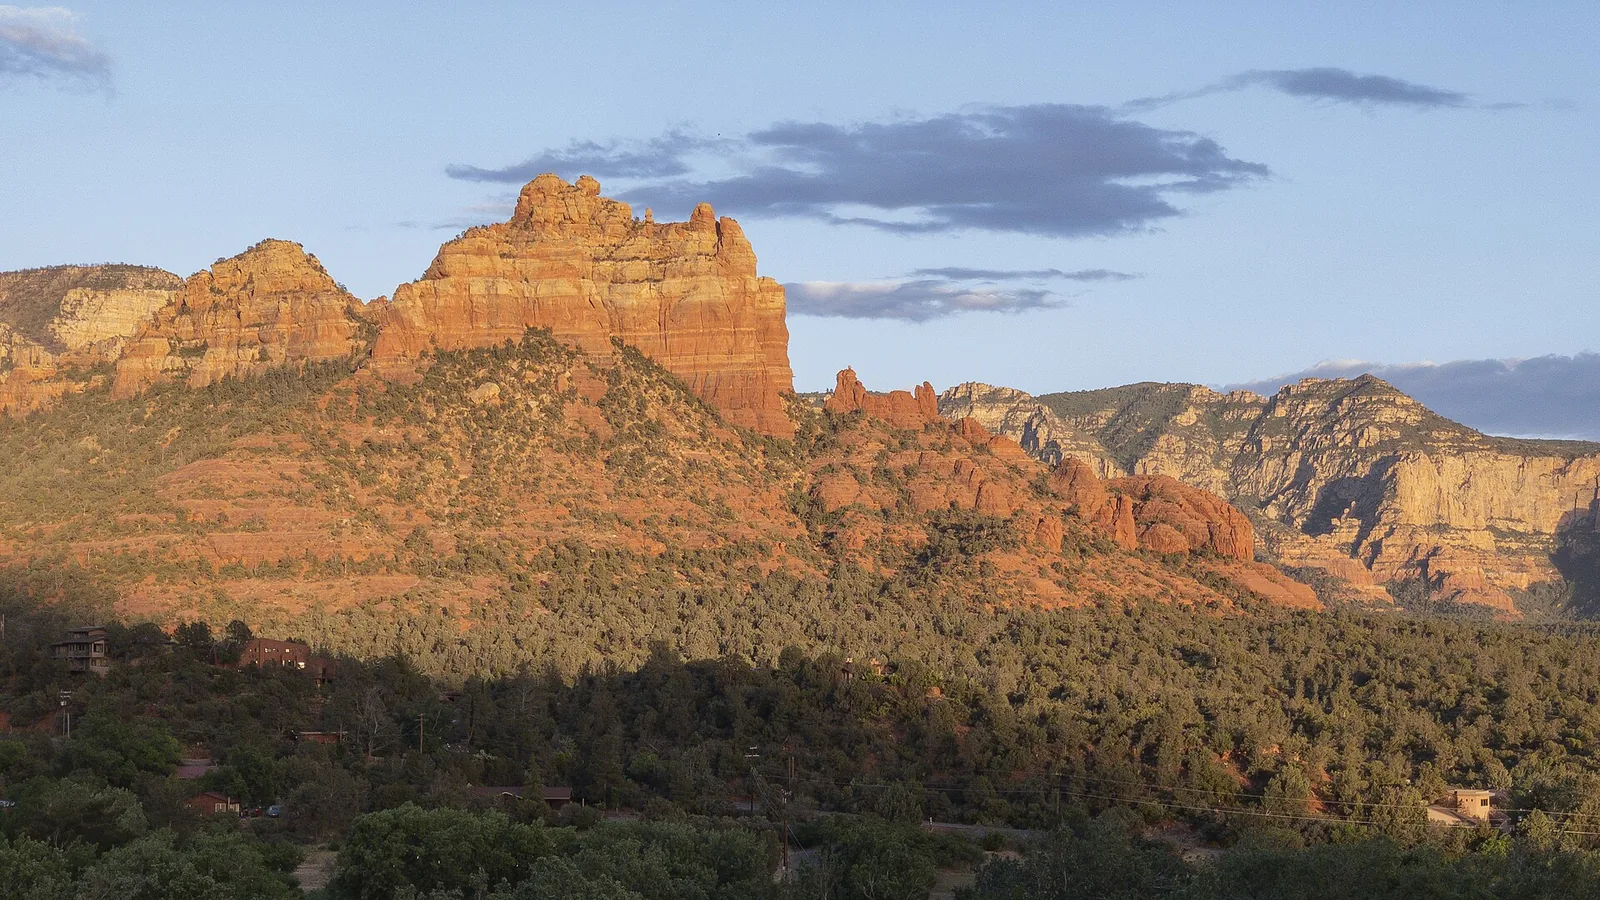
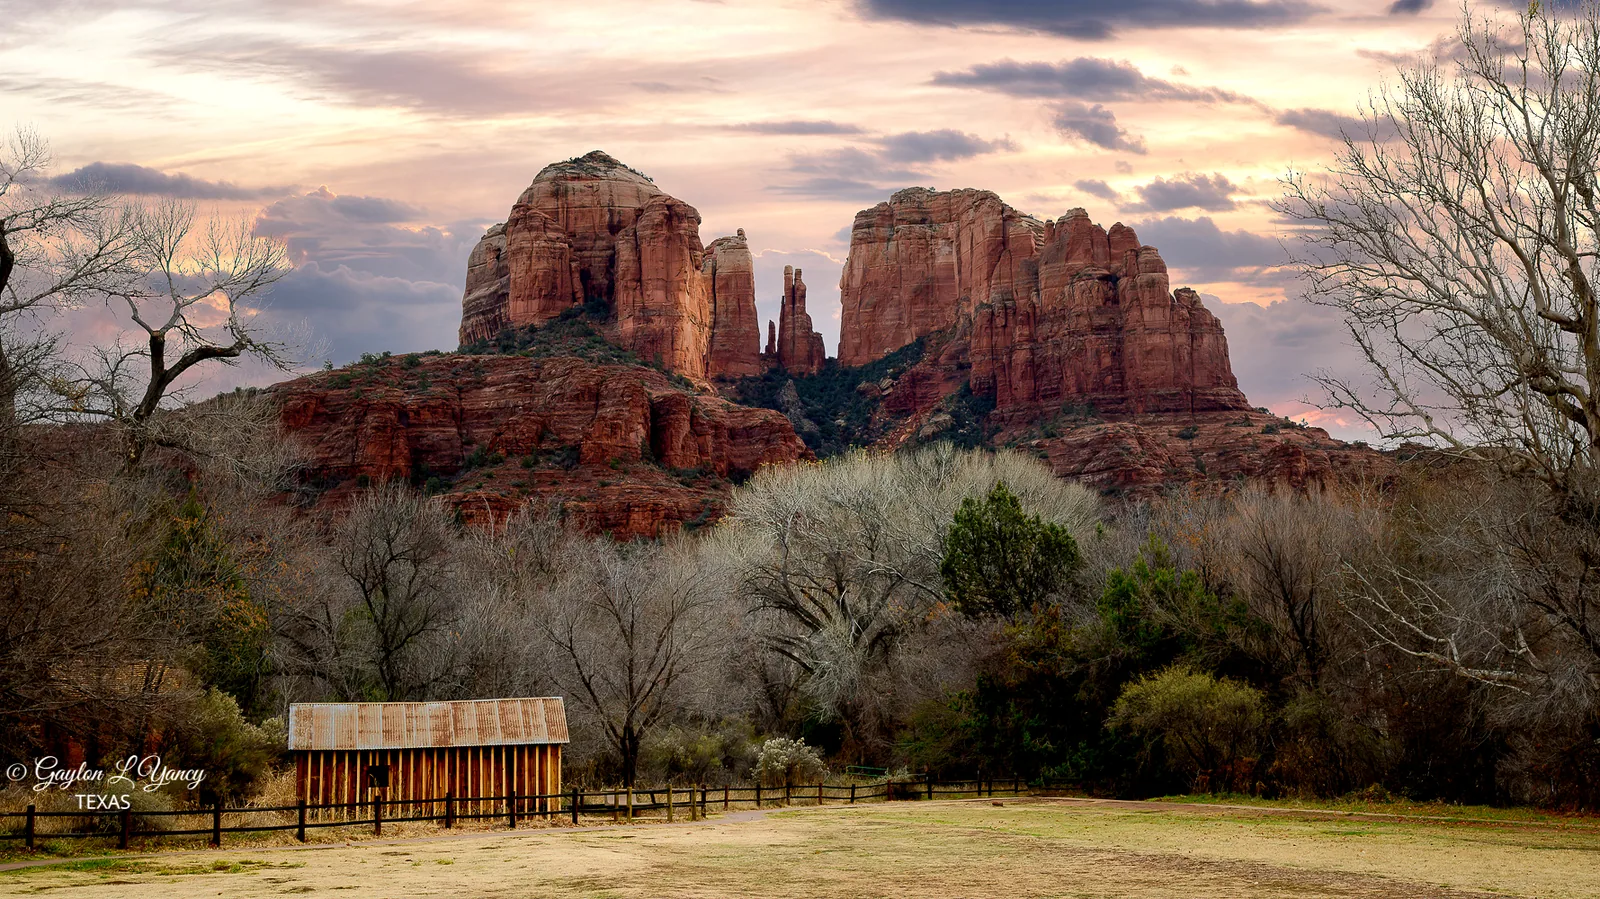
If you only have time for one hike that shows you the whole shape of Sedona at once, the Airport Mesa Loop is hard to beat. It’s a roughly 3.2-mile trail that wraps all the way around the flat-topped mesa the airport sits on, so you’re never staring at a single famous rock — you’re slowly rotating past Cathedral Rock, Thunder Mountain, Coffee Pot, Capitol Butte, and the whole spread of town below. It’s central, it’s open most of the year, and the views are honestly relentless. The trade-off is that it’s exposed to the sun, the parking is tight, and at sunset you’ll be sharing the place with a lot of other people who had the same good idea.
What it is and why it’s worth your time
Airport Mesa is the long, flat butte right in the middle of Sedona with the small regional airport on top. The Airport Loop Trail (Forest Service Trail No. 210) circles the base of that mesa, staying mostly on the slopes below the airport fence. Because you walk a full circle around a high point near the center of town, the trail hands you a continuous 360-degree panorama — you see different landmarks at every turn, and there’s no single “the view” moment because the whole thing is the view.
A few things make it a standout choice, especially early in a trip:
- It’s central and easy to reach. You’re not driving 30 minutes down a washboard forest road. The trailhead is a short drive up Airport Road from the middle of town.
- The views are constant, not earned at the end. A lot of Sedona hikes make you grind to a payoff. Here the payoff starts in the first ten minutes and never really stops.
- It’s a manageable distance — a couple of hours of walking, not a half-day expedition.
- It works as an orientation hike. Walk it on day one and you’ll suddenly understand where everything is. You can literally point out Cathedral Rock, Bell Rock, Thunder Mountain, and Capitol Butte and know which direction to head next.
One important clarification before you go, because the names cause real confusion: the Airport Loop Trail is not the Airport Mesa Vortex, and it’s not the Airport Scenic Overlook. Those are three separate things on the same mesa. The loop circles the mountain. The vortex is a short, steep scramble up to a rocky saddle. The Overlook is a paid pull-off at the top with a guardrail and a view. We get into all three below, and there’s a full vortex guide if that’s specifically what you’re after.
What you’ll actually see as you walk
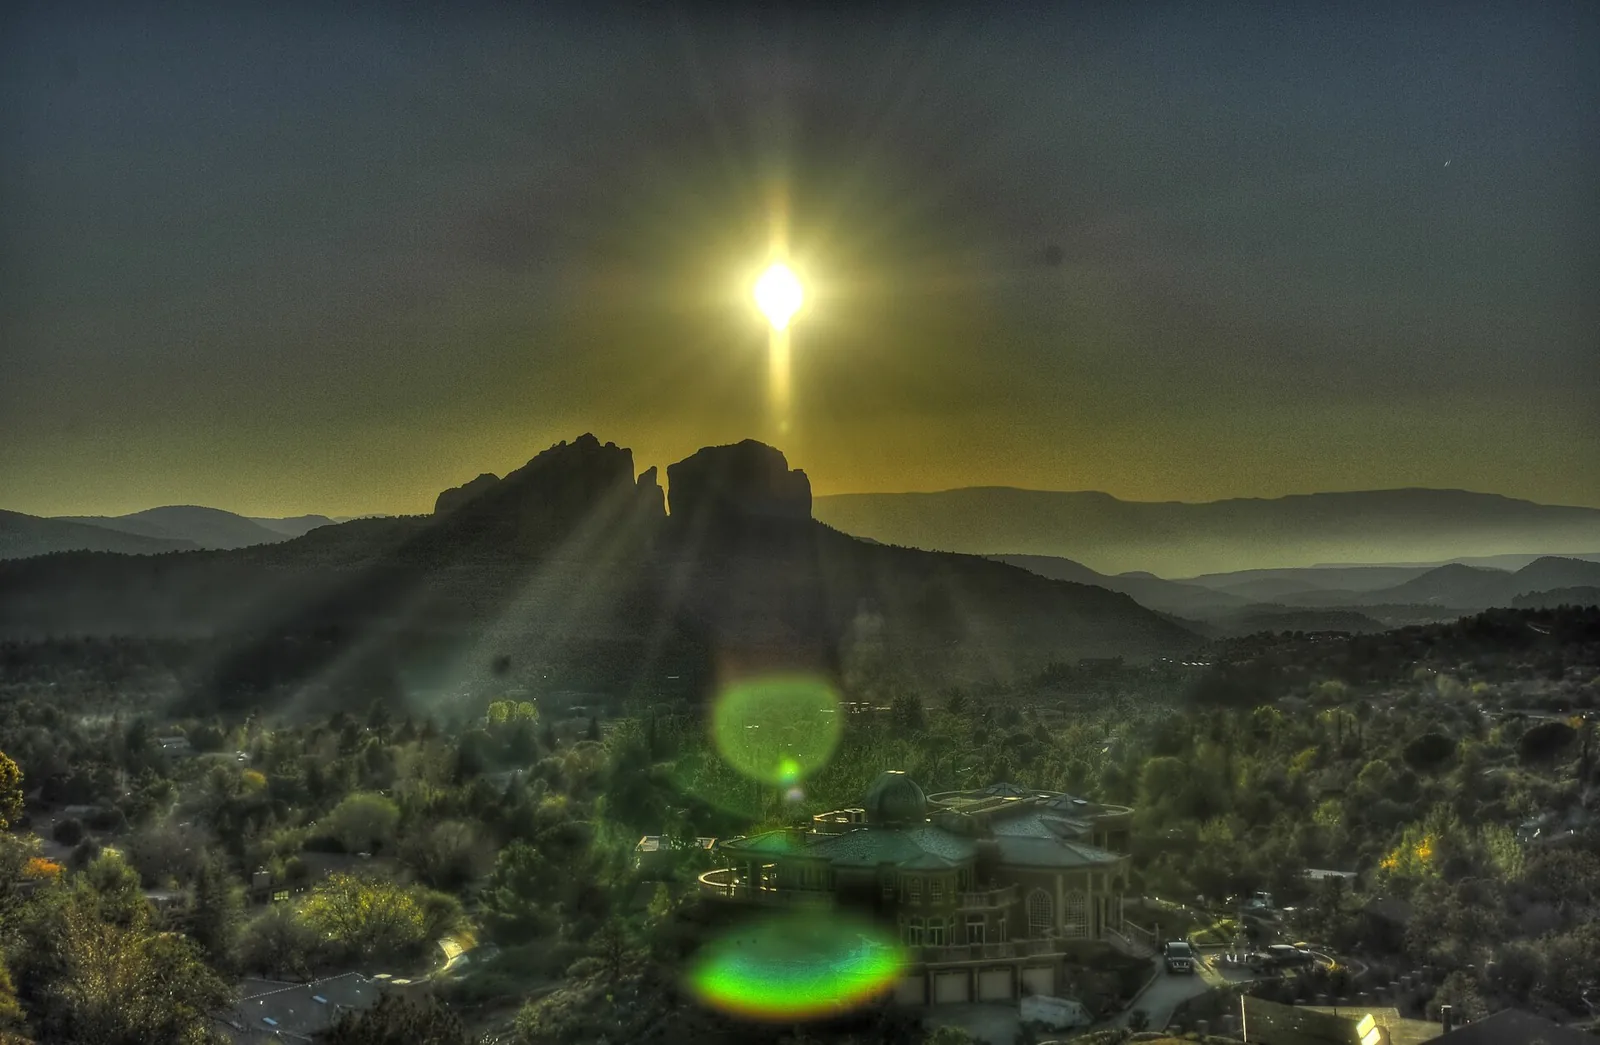
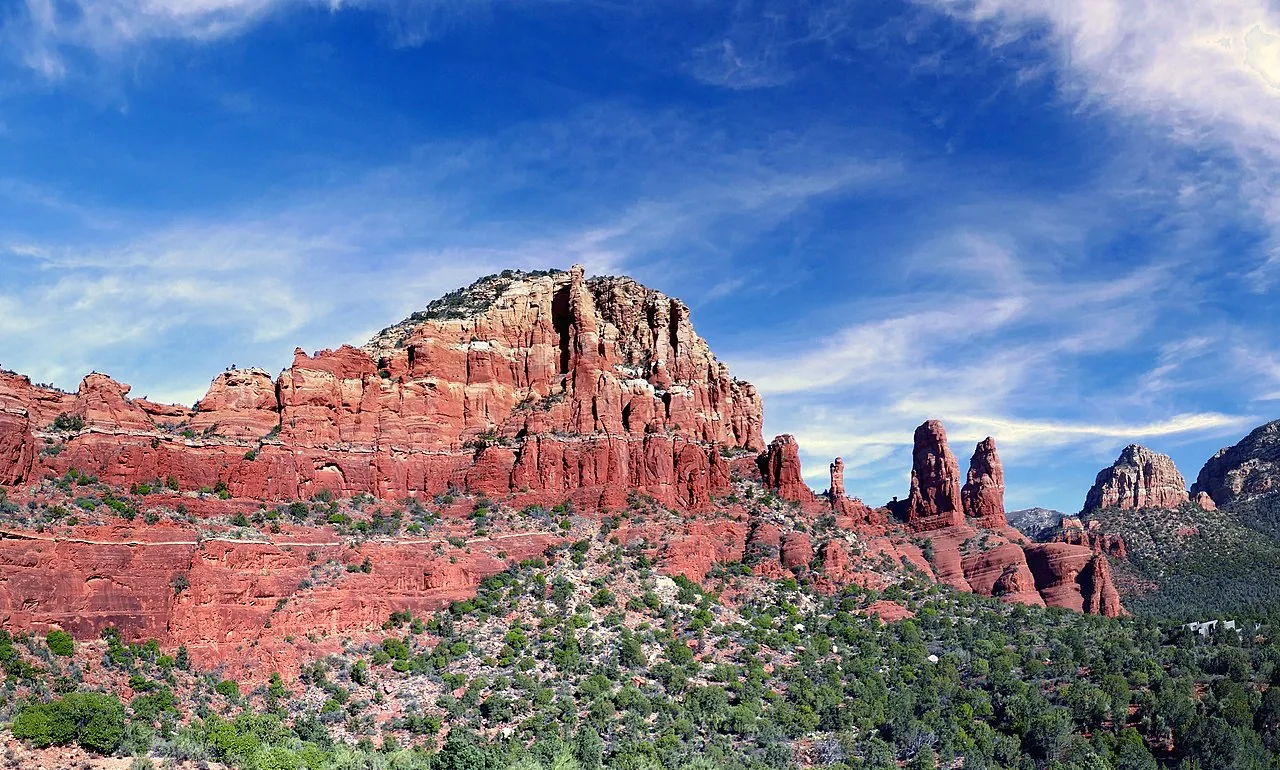
Because the trail circles the mesa, the landmarks rotate past you like a slow turntable, and it helps to know what you’re looking at. On the east side you get a clean look at Twin Buttes. Swing south and Cathedral Rock dominates — it’s the most photographed rock in Sedona and you’ll see why. As you come around the north side, the skyline fills with Thunder Mountain (also called Capitol Butte by locals, depending on who you ask), Chimney Rock, and the distinctive lid of Coffee Pot Rock. Below you the whole grid of Sedona spreads out, with Highway 89A threading through it. There’s no point on the loop where you’re walking through trees with nothing to look at; the views are the trail.
Getting there and where to park
The whole Airport Mesa area sits at the top of Airport Road, which climbs off Highway 89A just southwest of Uptown. It’s maybe five to ten minutes from most of central Sedona. The catch is parking: there are only two real lots up here, both are small, and both fill up.
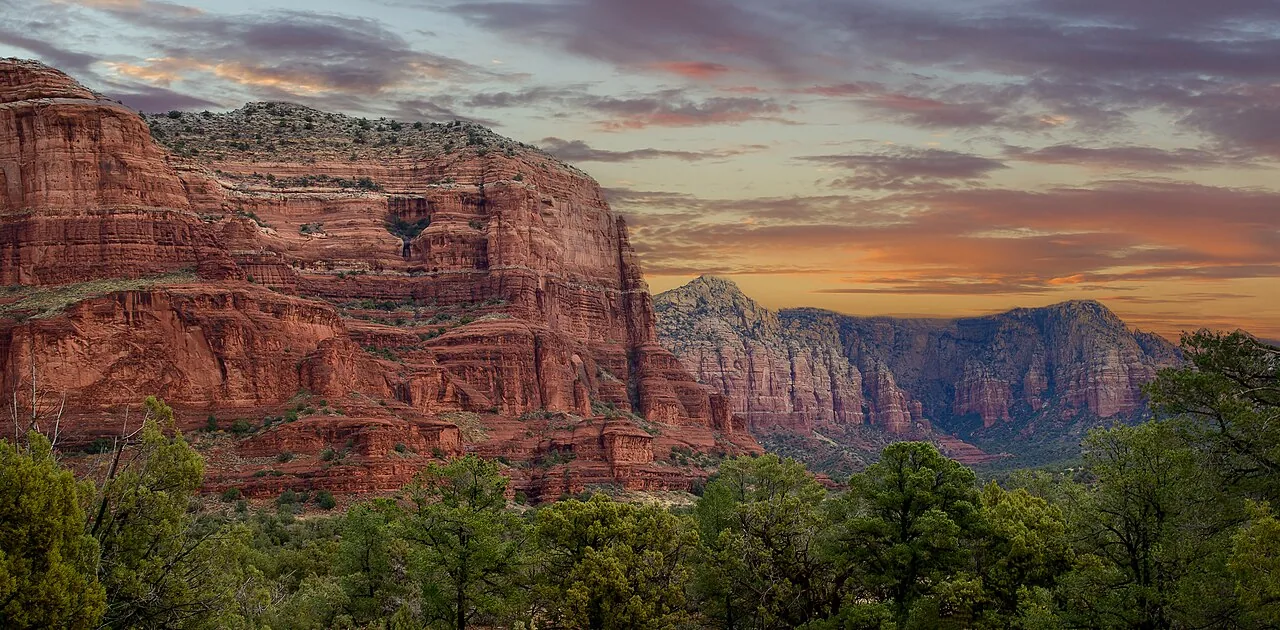
The two parking options
1. The Airport Saddle lot (the free one, lower down) About halfway up Airport Road there’s a small lot at the saddle — this is the most popular trailhead for the loop and for the vortex. It’s free, but it’s tiny: roughly nine spaces plus an accessible space. On a nice morning it can be full by 8 a.m. There’s no overflow to speak of, and parking along the road shoulder up here is restricted, so don’t count on a roadside spot.
2. The Airport Vista / Scenic Overlook lot (paid, at the top) Keep driving to the top of the mesa and there’s a larger lot by the Sedona Airport Scenic Overlook. This one charges a small fee — it’s commonly around $3, paid at an attendant booth or a self-pay kiosk when the booth is unattended. Confirm the current amount when you arrive, since fees change. The advantage here is more spaces and a guaranteed view even if you never set foot on the trail. You can pick up the loop from this end too.
| Parking option | Cost | Size | Best for |
|---|---|---|---|
| Airport Saddle lot | Free | ~9 spaces + accessible | Early birds; shortest walk to the vortex saddle |
| Airport Vista / Overlook lot | Small fee (~$3, confirm on site) | Larger | Later arrivals; guaranteed parking; the overlook view |
Do you need a Red Rock Pass?
This is a common question, and the honest answer is: not for the parking you’re most likely to use here. The free saddle lot doesn’t require a Red Rock Pass, and the paid Overlook lot charges its own separate fee that isn’t tied to the pass. That’s different from a lot of Coconino National Forest trailheads around Sedona, where you do need a Red Rock Pass (a day pass runs in the $5-ish range; confirm current pricing) displayed on your dash. So if Airport Mesa is your only stop, you can likely skip the pass — but if you’re hitting other forest trailheads the same day, grab one, because it covers most of them and saves hassle. You can buy passes at the Forest Service visitor center, many local shops, and self-serve machines at major trailheads.
Local tip: Don’t circle the saddle lot waiting for a space — you’ll just create a traffic jam on a narrow road. Drive straight to the top, pay the few dollars at the Overlook, and start the loop from there. You’ll save twenty minutes of frustration, and you can swing by the saddle on foot anyway since the trail connects them.
Difficulty and what to expect underfoot
The Airport Loop gets called everything from “easy” to “moderate,” and the truth is somewhere in between depending on which direction you go and how you feel about uneven footing. The forest and most guides rate it moderate, and that’s the rating I’d trust.
Here’s the shape of it:
- Distance: about 3.2 to 3.5 miles for the full loop, depending on where you start and whether you add a spur.
- Elevation gain: modest — roughly 400 to 500 feet total, spread out rather than dumped into one brutal climb.
- Time: plan on 1.5 to 3 hours. Most people take around two.
What makes it “moderate” rather than “easy” isn’t the climbing — it’s the surface. The first stretch from the saddle is fairly level and tame. Then the trail climbs a section of basalt boulders and rocky steps up onto the shoulder of the mesa. None of it is technical or exposed in a scary way, but you’re stepping up and over rock, and there are spots where you want to watch your footing rather than your phone. After that it levels out and follows the perimeter of the airport, with gentle ups and downs the rest of the way around.
Which direction to walk it
The loop works fine in either direction. Many hikers go counterclockwise from the saddle so they get the rocky climb done early and then enjoy the easier perimeter section with the views opening up. Going clockwise saves the boulder section for the descent, which some people find harder on the knees. There’s no wrong choice — pick based on whether you’d rather climb rocks fresh or finish on flatter ground.
The Tabletop spur
If you want a little extra, there’s a short side trail (often called Tabletop or Table Top) that climbs gradually to a high point with a wide-open panoramic view, including a look at the formation locals call “the Pyramid.” It adds roughly a half mile out and back and a bit more climbing. Skip it if you’re tired; take it if you want the best single viewpoint on the route.
How it stacks up against other Sedona hikes
It helps to put the loop in context if you’re trying to plan a balanced trip. It’s tougher than a flat stroll like the lower Bell Rock paths but far gentler than the white-knuckle scramble up Cathedral Rock or the long grind out to Devils Bridge. Think of it as the middle of the pack: enough rock to feel like a real hike, not enough to wreck your legs for the rest of the day.
| Hike | Roughly | Effort | Shade |
|---|---|---|---|
| Airport Mesa Loop | ~3.2 mi loop | Moderate | None |
| Bell Rock (lower paths) | Varies, short | Easy | Little |
| Cathedral Rock | ~1.2 mi round trip | Hard (steep scramble) | Little |
| Devils Bridge | ~4-6 mi round trip | Moderate-hard, long | Little |
If you’re weighing your options, the roundups of easy hikes and hard hikes lay out the full spread so you can match a trail to the kind of day you want.
Best time of day and season
This trail is genuinely good at almost any hour, but the experience changes a lot depending on when you show up.
Time of day
- Early morning is the sweet spot. The light is soft and golden on the red rock, the air is cool, the parking is open, and you’ll have far more of the trail to yourself. On a hot day this isn’t optional — the trail is unshaded, and midday in summer is rough.
- Sunset is the famous time here, and for good reason: the western rocks light up and the whole town glows. Just know that everyone knows this. The saddle and Overlook get genuinely crowded before sunset, parking becomes a real problem, and you’ll be elbow-to-elbow at the popular viewpoints. Worth it once, but go in with realistic expectations.
- Midday is the least pleasant in warm months because of the sun, but it’s perfectly fine in winter and great for clear, contrasty photos if heat isn’t a factor.
Season
Airport Loop is open year-round, which is part of its appeal.
- Spring and fall are ideal — comfortable temperatures, manageable crowds on weekdays.
- Summer is hot and exposed. Hike at dawn, carry more water than you think you need, and be off the trail before the heat builds. Afternoon monsoon storms in July and August can bring sudden lightning, so watch the sky.
- Winter is underrated here. Days are mild and sunny far more often than not, crowds thin out, and the occasional dusting of snow on the red rock is stunning. Footing can be icy in shaded spots after a storm, so micro-spikes aren’t a bad idea on cold mornings.
What to bring
It’s a short loop, but it’s exposed and the desert doesn’t forgive being underprepared. Pack like the sun matters, because it does.
- Water — more than feels necessary. At least a liter per person for the loop, more in summer. There’s no water on the trail.
- Sun protection. Hat, sunglasses, and sunscreen. Reapply. The lack of shade is the single biggest thing people underestimate here.
- Real shoes. Trail runners or hiking shoes with grip. Those basalt boulders are slick under smooth-soled sneakers.
- A light layer in cooler months — mornings and the breezy top of the mesa can be chilly even when town feels warm.
- A camera or a charged phone. You’ll use it. The light at the corners of the loop is the whole point.
- A small snack if you’re doing the Tabletop spur or lingering for sunset.
What you don’t need: trekking poles for most people (though they help on the rocky section if your knees are cranky), and you don’t need a big pack — this is a couple of hours, not an epic.
Accessibility
Be straight with yourself here: the full loop is not wheelchair- or stroller-accessible. The rocky, stepped sections and uneven natural surface rule that out, and there are no paved portions of the actual trail.
That said, the views are still very reachable for people who can’t or don’t want to do the whole loop:
- The Airport Scenic Overlook at the top has a paid lot, a railing, and a paved area where you can take in a huge sweep of red rock without hiking at all. It’s the most accessible big view in Sedona, frankly.
- The saddle area near the lower lot gives you a fine view with only a short, flat walk from the car, though the surface is natural and slightly uneven.
- You can also walk just the first easier stretch of the loop from the saddle and turn around whenever the footing gets rough, then come back — an out-and-back instead of the full circle.
If mobility is a concern, the Overlook plus a short stroll delivers most of what makes this place special.
How to avoid the crowds
Airport Mesa is one of the most-visited spots in Sedona, so the question isn’t whether it’s busy — it’s when. A few honest strategies:
- Go early. Arriving by 7:30 or 8 a.m. solves both the parking problem and the crowd problem in one move. It’s the single most effective thing you can do.
- Skip sunset if you hate crowds. Sunrise from this mesa is nearly as good, dramatically less crowded, and parking is wide open. If you want golden light without the scrum, sunrise is the move.
- Go midweek. Weekends and holidays are the worst. A Tuesday morning is a different, calmer trail than a Saturday evening.
- Start from the Overlook, not the saddle. When the free lot is jammed, the paid lot up top almost always has space, and you can still do the full loop from there.
- Walk away from the popular ends. The back side of the loop, away from the saddle and overlook, sees a fraction of the foot traffic. Some of the best, quietest views are on the stretches most people never reach.
Safety
Nothing about this trail is extreme, but a few desert realities are worth respecting:
- Heat is the real hazard. Far more people get into trouble here from sun and dehydration than from anything else. In summer, treat midday as off-limits and hydrate before, during, and after.
- Watch your footing on the rocks. The basalt sections are uneven and can be slippery, especially descending. Most minor injuries here are rolled ankles and trips, not anything dramatic.
- There are drop-offs. The trail runs along the slopes of a mesa, and some sections have a fall-off to the side. Keep kids close and don’t back up blindly for a photo.
- Monsoon lightning. July through September can bring fast afternoon storms. If you hear thunder, get off the high, exposed parts of the mesa.
- Wildlife. Standard Sedona stuff — keep an eye out for snakes in warm weather, especially on rocky stretches, and don’t reach into crevices. They want nothing to do with you.
- Stay on the trail. It’s well-marked. Don’t cut switchbacks or wander toward the airport fence.
This is a safe, well-traveled trail. The main thing that turns a good hike bad here is underestimating the sun.
A quick word on the vortex and the overlook
Because the names overlap, let me make the three distinct things crystal clear one more time:
- Airport Loop Trail (No. 210) — the ~3.2-mile circle around the mesa. That’s this page.
- Airport Mesa Vortex — a short, steep climb up a rocky knob to a saddle near the lower lot. It’s one of Sedona’s well-known energy vortex sites, busy at sunset, and a separate experience from the loop. Details are in the dedicated Airport Mesa vortex guide, and there’s a broader guide to Sedona’s vortexes if the concept is new to you.
- Airport Scenic Overlook — the paid pull-off at the top of the mesa with a railing and a panoramic view, no hiking required.
The nice thing is you don’t have to choose. From the saddle you can scramble up to the vortex, walk the full loop, and drive up to the overlook all in one visit — a couple of hours covers all three.
What to pair it with nearby
Airport Mesa’s central location is its secret weapon: almost everything in Sedona is a short drive away. Here’s how I’d build a day around it.
Other hikes close by
- Cathedral Rock — you stare at it the whole way around Airport Loop, so it makes sense to go meet it up close. It’s a short but genuinely steep scramble; read the Cathedral Rock guide before you go because the climb is no joke.
- Bell Rock — easy, family-friendly, and close, just down toward the Village of Oak Creek.
- Easy options if Airport Loop wore you out — there’s a roundup of easy Sedona hikes that pair well with a low-key afternoon.
Sights and food
- Chapel of the Holy Cross — a striking modern chapel built into the red rock, a few minutes away and worth the stop even if you’re not religious. See the Chapel of the Holy Cross guide.
- Tlaquepaque — a shaded arts-and-crafts village of galleries and restaurants, perfect for the hot part of the day when you don’t want to be on an exposed trail.
- Uptown Sedona — the main strip of shops and eateries is just down the hill. Plenty of options in the best restaurants roundup, and if you timed your hike for sunrise, a proper breakfast or brunch afterward is the right call.
And if you’re staying with us, the best part of an early Airport Mesa hike is that you can be back at the house with the whole afternoon free — beat the heat outside in the morning, then settle a score on the indoor pickleball court when the sun’s at its worst. When you’re ready to plan it all, book the house and build your days around the cool hours.
The short version
Airport Mesa Loop is the most efficient way in Sedona to understand the place and rack up great views in a single, manageable hike. Go early or at sunrise, bring more water than you think you need, expect rocky footing and zero shade, and don’t confuse the loop with the vortex or the overlook — though you can easily do all three. It’s central, it’s open year-round, and it’s a near-perfect first hike for getting your bearings before you tackle the bigger names like Devils Bridge or Cathedral Rock. Few trails give you this much for so little effort.
Frequently asked questions
Is the Airport Mesa Loop the same as the Airport Mesa vortex?
Do I need a Red Rock Pass to park at Airport Mesa?
How hard is the Airport Loop Trail?
When is the best time to hike Airport Mesa?
Is the trail accessible for wheelchairs or strollers?
Are dogs allowed on the Airport Loop Trail?
Stay where you can rally any season
Sedona Pickler is a private West Sedona vacation home with its own indoor, climate-controlled pickleball court — a short drive from the trailheads, viewpoints and restaurants in this Sedona guide. Play at sunrise or after dark, in any weather.
Check availability on Airbnb