The Best Hard & Strenuous Hikes in Sedona

Sedona has a reputation for gentle red-rock strolls, and a lot of that is true — but the area also hides some genuinely tough hikes that will leave your legs shaking and your shirt soaked. These are the trails that climb out of the canyon onto the high mesas and summits, the ones with loose footing, slickrock scrambling, big exposure, and very little shade. If you came to Sedona to work for your views, this is the list for you. Just go in with clear eyes: these hikes are no joke in the heat, and a couple of them will test your nerve as much as your fitness.
Who these hikes are for (and who should skip them)
Everything on this page is rated moderate-strenuous to strenuous by the Coconino National Forest, the agency that manages almost all the trails around Sedona. That means real elevation gain, long stretches of full sun, uneven footing, and in a few cases hand-over-foot scrambling or narrow ledges with serious drop-offs.
You’ll have a good day on these if you:
- Hike regularly and are comfortable with 1,000–2,500 feet of climbing
- Have decent balance and don’t mind using your hands on rock
- Are honest about your tolerance for heights (Hangover and Bear Mountain in particular)
- Can carry enough water for a multi-hour effort
You should probably look at our easy hikes roundup instead if you’re hiking with small kids, you’re worried about exposure, it’s the middle of a summer afternoon, or you just want pretty scenery without the suffering. There’s no shame in it — some of the best views in Sedona are on short, flat trails.
A quick note on the difficulty ratings below: distances and elevation gains are from the Forest Service and trail records and are stable facts. “Difficulty” is my honest read, factoring in not just the numbers but the footing, exposure, and shade.
The comparison table
Here’s the whole lineup at a glance. Distances are round trip unless noted, and elevation gains are approximate — different GPS tracks disagree by a hundred feet or so, which is normal.
| Trail | Distance (round trip) | Elevation gain | Difficulty | Why you’d do it |
|---|---|---|---|---|
| Cibola Pass + Jordan loop | ~2.1 mi | ~300 ft | Moderate | Short workout, big formations, easy to combine |
| Cathedral Rock | ~1.2 mi | ~650 ft | Strenuous (short) | Iconic scramble to a saddle, all in under a mile |
| Mescal + Yucca loop | ~3–4 mi | ~300–500 ft | Moderate | Slickrock mesa views without the brutal climb |
| Devil’s Bridge (long route) | ~4.2–4.6 mi | ~400–600 ft | Moderate | Sedona’s famous arch, from the paved lot |
| Brins Mesa to Soldier Pass | ~5.5 mi | ~700–900 ft | Moderate-strenuous | Full traverse linking two classic trails |
| Bear Mountain | ~4.6 mi | ~1,800–2,000 ft | Strenuous | Relentless climb, panoramic summit |
| Hangover loop | ~8–8.5 mi | ~1,200 ft | Strenuous (exposed) | Cliff-edge ledges, expert-only thrills |
| Wilson Mountain | ~11 mi | ~2,400 ft | Strenuous | The highest summit in the Sedona area |
A word on the table: Cibola Pass, the Mescal/Yucca loop, and the long Devil’s Bridge route aren’t truly “hard” in the way Bear Mountain or Wilson are — I’ve included them because they’re the natural stepping stones, and because two of them link directly into the genuinely tough traverses. If you’re building up to the big ones, start there.
Bear Mountain — the relentless climber
Bear Mountain (Trail No. 54) is the one locals send people to when they say they want a hard hike but don’t want a marathon. It’s only about 4.6 miles round trip, but it crams roughly 1,800 to 2,000 feet of climbing into that distance, and almost none of it is shaded. You go up, then you go up some more, then just when you think you’ve topped out, there’s another tier of rock above you. It’s a false-summit machine.
Getting there and parking
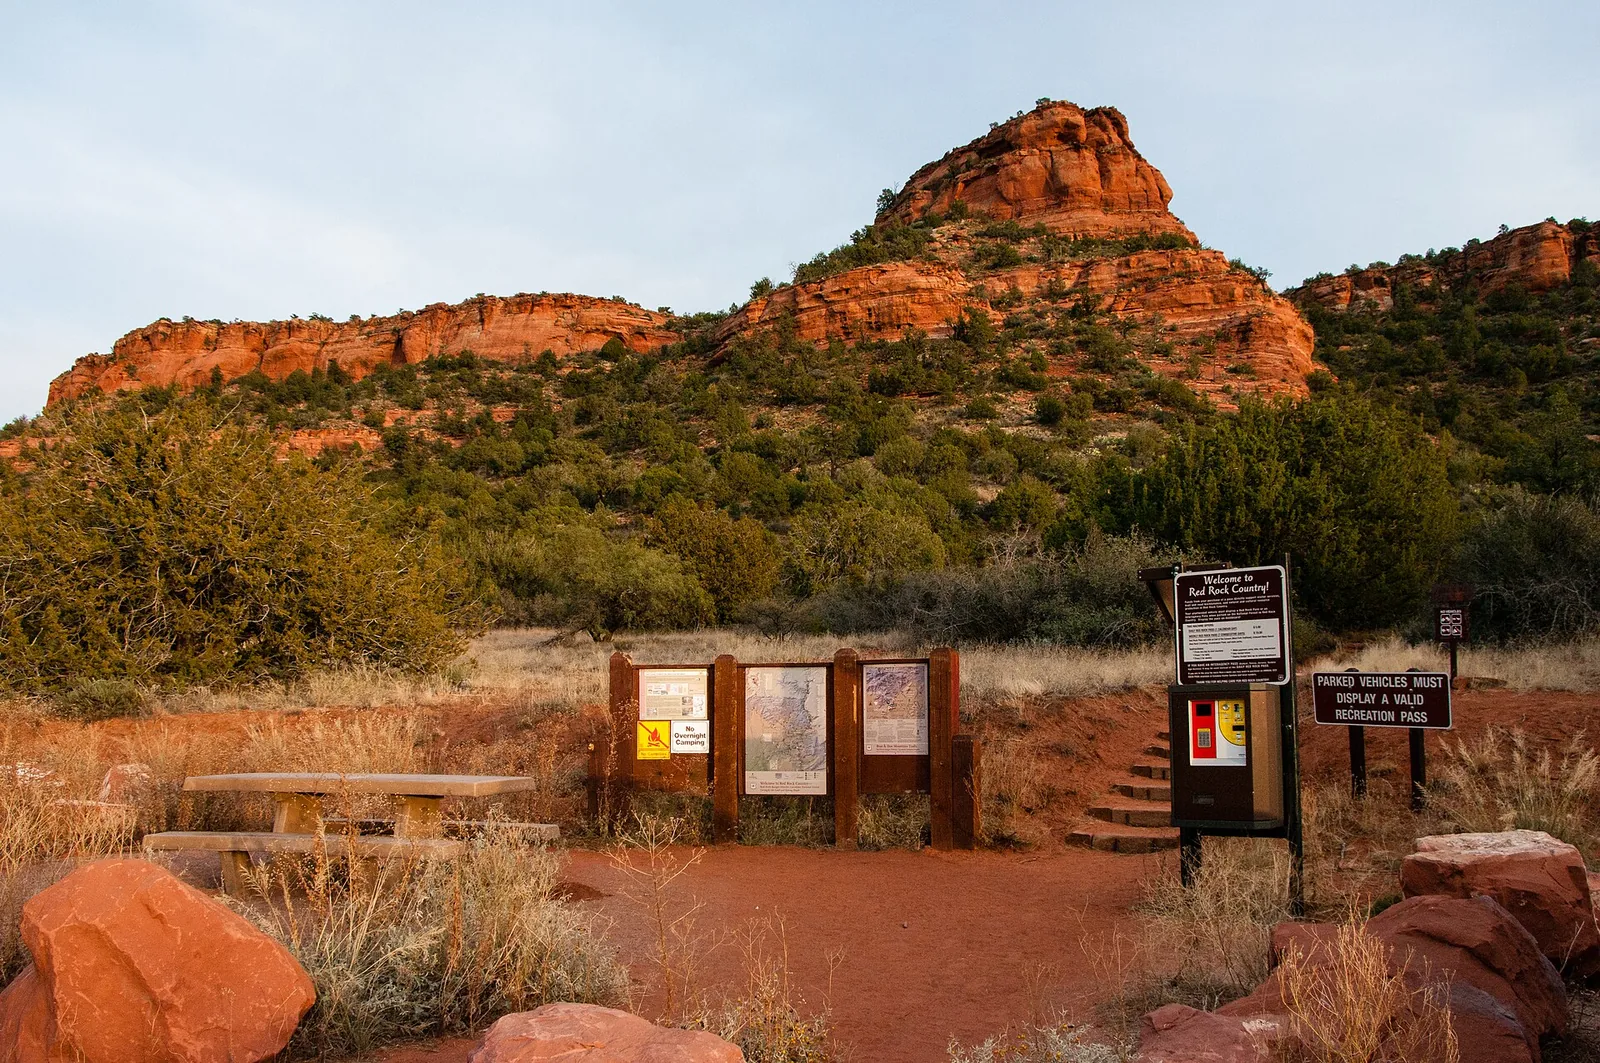
The trailhead is on the west side of Sedona, off Boynton Pass Road, sharing a lot with the Doe Mountain Trail (Doe Mountain is the flat-topped mesa directly across the road — a much gentler hike if you want a warm-up or a bail-out option). You’ll need a Red Rock Pass here: $5 a day, $15 a week, or $20 for the year, displayed in your windshield. The lot is gravel and not huge, so it fills early on busy mornings.
What to expect
Much of the route climbs over tilted slabs of rock where the trail is hard to read. The Forest Service marks the way with white painted diamonds on the rock — keep an eye out for them, because it’s genuinely easy to wander off-route up here. There’s a bit of light scrambling but nothing technical. The reward is a series of broad overlooks; the “official” turnaround is a high point with views across to the San Francisco Peaks, but honestly most of the best vistas come well before the very top.
Local tip: Bear Mountain faces roughly southwest and bakes in afternoon sun. Be at the trailhead at first light, especially April through October. By mid-morning the rock radiates heat back at you and the climb gets miserable fast.
Pair it with a stop at nearby Fay Canyon, a short, mostly shaded walk just down the road, if you have legs left and want a cool-down.
Cathedral Rock — short, steep, and a little terrifying
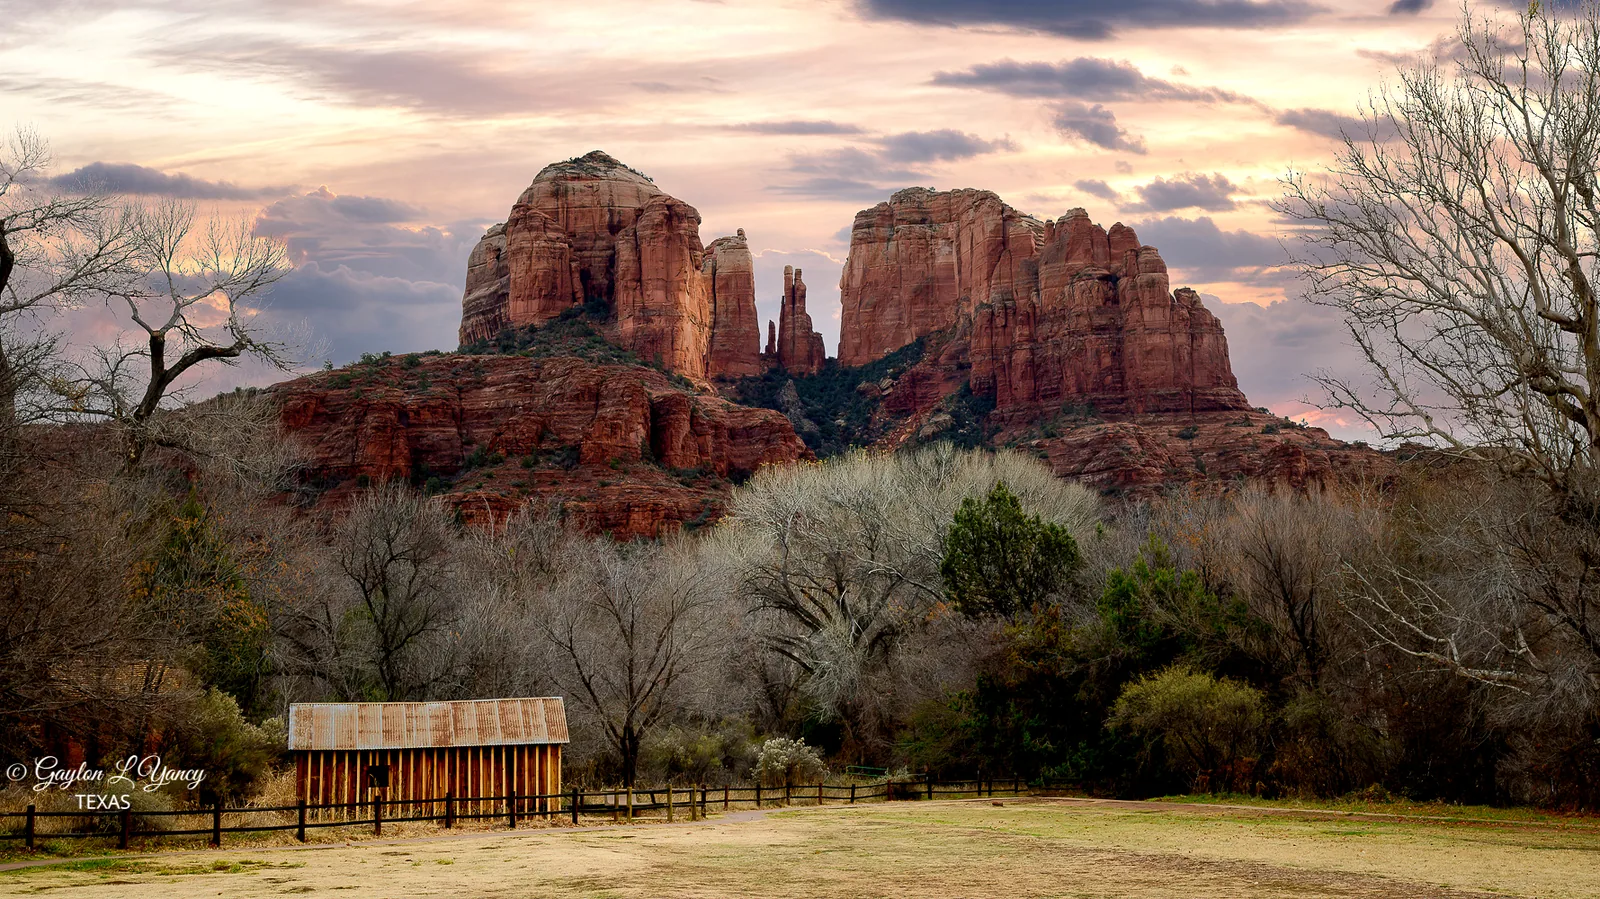
Don’t let the distance fool you. Cathedral Rock (Trail No. 170) is barely over a mile round trip, but it climbs around 650 feet of that in a relentless, hand-on-rock scramble up to the saddle between the spires. It’s one of the most photographed spots in Arizona for good reason, and one of the most underestimated.
Getting there and parking
The trailhead lot is off Back O’ Beyond Road and holds maybe 45 cars. It fills by 6:30 or 7 a.m. on busy days, and parking here is closed Thursday through Sunday year-round while the free Sedona Shuttle runs. On those days, park at one of the city’s park-and-ride lots and take the shuttle in — it’s genuinely the easiest way to do this hike and saves you the parking-lot stress. A Red Rock Pass is required if you do drive and park here on the days the lot is open.
What to expect
There’s a steep chute section near the top where you’ll be using both hands to pull yourself up the rock. It’s not exposed in a fall-to-your-death way, but it is steep, and coming down is harder than going up for a lot of people. Take your time, wear shoes with grip, and don’t do it in the rain when the rock is slick. The payoff at the saddle is enormous: a window between the two main spires looking out over the Verde Valley.
For the full story — including the famous vortex some people come here for — see our dedicated Cathedral Rock guide.
Wilson Mountain — the highest summit around
If you want to stand on top of the tallest thing near Sedona, this is it. Wilson Mountain (Trail No. 10) tops out at 7,122 feet, the highest summit in the immediate Sedona area, and getting there is an all-day commitment: roughly 11 miles round trip with about 2,400 feet of gain. This is the hike on the list that demands the most endurance.
Getting there and parking
The southern trailhead is in Oak Creek Canyon, just north of Sedona at the Midgley Bridge picnic area on Highway 89A — a stunning spot in its own right, with a small lot that fills early. Red Rock Pass required. There’s a northern approach off the canyon too, but the Midgley Bridge route is the classic.
What to expect
The first stretch is a steep set of switchbacks up out of the canyon — get it done early while you’re fresh and shaded. Then the trail mellows across a high plateau before the final push to the rim. From the top you get a genuinely different perspective: Oak Creek Canyon below, the red-rock formations laid out, and the San Francisco Peaks on the horizon. Because of the elevation, it’s noticeably cooler up high, which makes Wilson one of the more bearable hard hikes in late spring or early fall.
This is a full-day outing. Start at dawn, carry more water than you think you need, and don’t underestimate the descent — your knees will feel those 2,400 feet on the way down. After a day like this, a quiet evening and a rally on the indoor court back at the house sounds about right.
Devil’s Bridge the long way — earn the famous arch
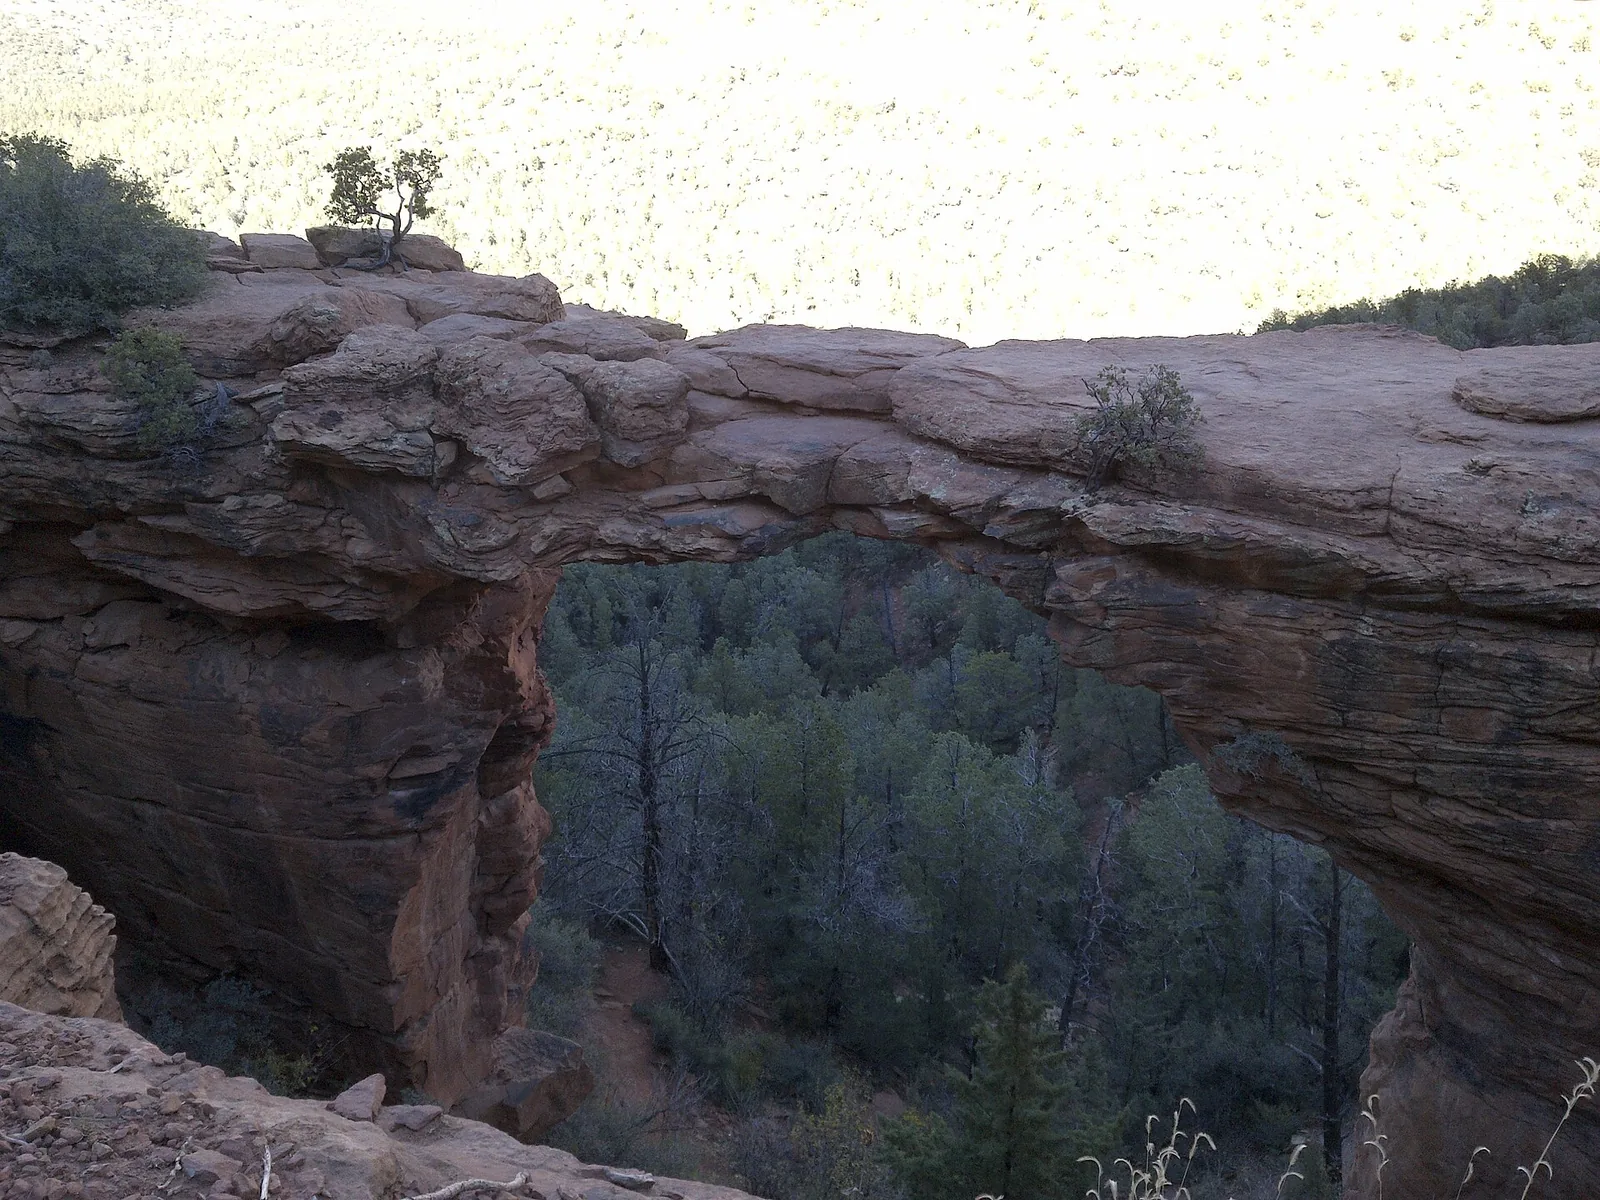
Devil’s Bridge (Trail No. 120) is the largest natural sandstone arch in the Sedona area, and the photo everyone wants is of someone standing on top of it. The catch is the crowds and the road access. There are several ways to reach it, and the “long route” — the one you walk entirely on your own two feet — is the honest, reliable choice.
Getting there and parking
The short version of the story: the upper trailhead at the end of Dry Creek Road requires a high-clearance, 4WD vehicle to reach, and that rough road is not something to attempt in a rental sedan. Most people park at the paved Dry Creek Vista lot (Red Rock Pass required) and walk the dirt road in. That makes it roughly 4.2 to 4.6 miles round trip with a modest 400–600 feet of gain — easy by this page’s standards until the final staircase of rock steps up to the bridge.
The Sedona Shuttle serves Dry Creek Vista on its operating days, which is the smartest way in. Note that shuttle routes occasionally pause for the season, so check sedonashuttle.com before you count on it.
What to expect and how to avoid the lines
The big issue here isn’t difficulty — it’s the line. On a busy morning there can be a genuine queue of people waiting to walk out onto the arch for their photo. To skip the worst of it:
- Be on the trail by sunrise — this is the single biggest factor, no exceptions.
- Go on a weekday if you possibly can.
- Accept that midday in summer is both the hottest and the most crowded — the worst of both worlds.
Our full Devil’s Bridge guide breaks down every route option in detail.
The Hangover loop — for experienced, head-for-heights hikers only
The Hangover is famous among mountain bikers as one of the most technical rides in the country, but it’s also a hike, and as a hike it’s a serious one. The full loop — typically linked via the Munds Wagon and Cow Pies trails off Schnebly Hill Road — runs about 8 to 8.5 miles with roughly 1,200 feet of gain, and it earns an expert rating not from the climbing but from the exposure.
What makes it hard
The Hangover section traverses narrow ledges carved along the cliff face, with sheer drop-offs inches from your boots. There’s slickrock that’s slippery when wet, off-camber sections, and a few spots of light scrambling. If heights make you uneasy, this is not your hike — there’s no shame in turning around, and people do. If you’re sure-footed and comfortable with exposure, it’s one of the most thrilling walks in Sedona.
Getting there
Access is off Schnebly Hill Road, which is itself rough (the paved portion is short before it turns to a jarring dirt road). Most hikers start from the Schnebly Hill area trailheads. A Red Rock Pass is required. This is shared-use trail, so stay alert for bikes — they generally have the harder time stopping, so step aside and let them pass on the technical sections.
Local tip: Do the Hangover early not just for heat, but for traffic. By mid-morning the bikers are out in force on the same narrow ledges, and it’s far more pleasant — and safer — to have the exposed sections to yourself.
If Schnebly Hill Road intrigues you, it’s a destination in its own right; see our Schnebly Hill Road guide before you bounce up it.
Brins Mesa to Soldier Pass — the classic traverse
This is the one I send fit hikers to when they want a real outing without summit-day suffering. Linking the Brins Mesa Trail (No. 119) and the Soldier Pass Trail (No. 66) into a full traverse gives you about 5.5 miles and somewhere in the 700–900 foot range of gain, and along the way you pass a remarkable concentration of Sedona landmarks.
What you’ll see
Done as a connected route, the traverse strings together the Seven Sacred Pools (a series of water pockets in the rock), Devil’s Kitchen (a large sinkhole), and the Soldier Pass Cave, an arched alcove that’s become a popular detour. Brins Mesa itself opens onto wide, high-desert views that feel a world away from the busy trailheads below.
Getting there and parking
You can start from the Soldier Pass trailhead, but parking there is tiny and tightly regulated — the residential neighborhood it sits in has strict rules, and the lot opens and closes on a posted schedule. The free Sedona Shuttle serves Soldier Pass on its operating days and removes the parking headache entirely; I’d take it. The Brins Mesa end can be reached from the Jordan Road area. Either way, a Red Rock Pass covers Forest Service parking.
Because it’s a traverse rather than a loop, think about your return — many hikers do it as an out-and-back on one trail, or arrange the shuttle to bookend it. For more on each end, see our Soldier Pass and Brins Mesa guides.
Mescal, Yucca, and Cibola Pass — the moderate “in-betweeners”
These three don’t belong in the same league as Bear or Wilson, but they’re the right call if you want to push yourself a notch above the easy stuff, or if the heat makes a full summit unwise.
Mescal and Yucca
The Mescal Trail is a slickrock favorite shared by hikers and mountain bikers, running along the base and flank of Mescal Mountain with terrific views and only modest climbing. Tie in the short Yucca connector and a couple of neighboring trails and you can build a loop of roughly 3 to 4 miles. The slickrock can be slippery and the route-finding takes a little attention, but there’s no real exposure. It’s accessible from the Long Canyon and Boynton Canyon road trailheads, and the Sedona Shuttle serves a Mescal stop on its operating days. Red Rock Pass for Forest Service lots.
Cibola Pass
Cibola Pass, usually hiked as a loop with the Jordan Trail, is the gentlest entry on this page — about 2.1 miles and 300 feet of gain, with a strenuous little staircase of rock steps in the middle that gives you a taste of the harder climbs. It starts from the Jim Thompson trailhead area at the north end of Jordan Road. It connects into the Soldier Pass and Seven Sacred Pools network, so you can extend it as far as your legs allow.
Heat, water, and when NOT to hike
This is the most important section on the page, so read it even if you skim the rest. Every summer, hundreds of hikers have to be rescued off Sedona’s trails — not because the hikes are unusually dangerous, but because people underestimate the heat. July is the hottest month, with highs commonly in the mid-90s and occasional days touching 100°F. The desert air is so dry you lose fluid faster than you feel it.
The water rule
The Forest Service and local search-and-rescue groups recommend planning for roughly one liter of water per person per hour of hiking in the heat. A simple, life-saving habit: when you’ve drunk half your water, you should be at or past the halfway point of your hike. If you’re not, turn around.
When NOT to hike
- Summer midday (roughly 10 a.m. to 4 p.m.) is the danger window. On the strenuous, unshaded climbs on this page, that’s when heat illness sends people to the hospital. Just don’t.
- In thunderstorms. Monsoon season (July through September) brings sudden afternoon storms. Slickrock gets dangerously slick, and the high, exposed summits — Wilson, Bear, the Hangover ledges — are no place to be when lightning rolls in.
- When you’re already low on water or running late. The descent off Wilson or Bear takes longer than people expect, and being caught out at dusk, dehydrated, is how rescues start.
What to bring
- More water than you think you need (see the rule above), plus electrolytes
- A wide-brim hat and real sun protection — there is almost no shade on Bear, Wilson, or the Hangover
- Grippy hiking shoes; the slickrock and scramble sections punish smooth soles
- A downloaded offline map (GPS works, but cell service is spotty out on the mesas)
- Snacks with salt, and a small first-aid kit
- A headlamp if there’s any chance of finishing near dark
Plan the season, not just the day
The sweet spot for the hard hikes is roughly October through April, when daytime temperatures are pleasant and the high summits are crisp and clear. Spring and fall weekends draw big crowds, so go early and consider weekdays. Summer isn’t off-limits, but it shrinks your hiking window to dawn and the last couple of hours of light — and on the toughest trails, dawn only. If you’re trying to figure out the ideal trip dates, our best time to visit guide goes deeper.
A sane way to string these together
You don’t have to pick just one. Here’s how I’d sequence a few days without wrecking yourself:
- Warm-up day: Cibola Pass + Jordan loop in the morning, then the Mescal/Yucca slickrock in the afternoon if you’re feeling good.
- Big day: Bear Mountain at dawn, then rest. Don’t stack another hard hike on the same afternoon.
- Summit day: Wilson Mountain, all day, nothing else. Eat well the night before.
- Thrill day: The Hangover loop early, if heights are your thing.
Whatever you do, build in real recovery. These trails take more out of you than the numbers suggest, between the heat and the rock. A late breakfast at one of the spots in our breakfast and brunch roundup, an easy afternoon, and an early night will do more for your next hike than another mile ever could. And if you’d rather not drive anywhere on a rest day, there’s always a low-key rally on the indoor court before dinner.
Hike hard, hydrate harder, and turn around when the desert tells you to. The red rock will still be here next time.
Frequently asked questions
What is the hardest hike in Sedona?
Do I need a permit or pass for these trails?
When should I avoid hiking the hard trails in Sedona?
How much water should I bring?
Can I take the free shuttle to these trailheads?
Is Cathedral Rock really that hard if it's so short?
Stay where you can rally any season
Sedona Pickler is a private West Sedona vacation home with its own indoor, climate-controlled pickleball court — a short drive from the trailheads, viewpoints and restaurants in this Sedona guide. Play at sunrise or after dark, in any weather.
Check availability on Airbnb