Devil's Bridge Trail: Sedona's Iconic Sandstone Arch
Devil’s Bridge is the largest natural sandstone arch in the Sedona area, and it’s the trail almost everyone has seen before they ever set foot in town — that photo of a person standing on a thin band of red rock with nothing but sky behind them. It’s a genuinely great hike with a genuinely great payoff. It’s also one of the most crowded trails in Sedona, the access road is rough, and the last stretch up to the arch is steep and exposed, so a little planning goes a long way.
Here’s the honest, useful version of what you need to know — the route options, the parking reality, when to go, and how to actually get your turn on the bridge without baking in the sun for two hours.
What Devil’s Bridge Is (and Why It’s Worth It)
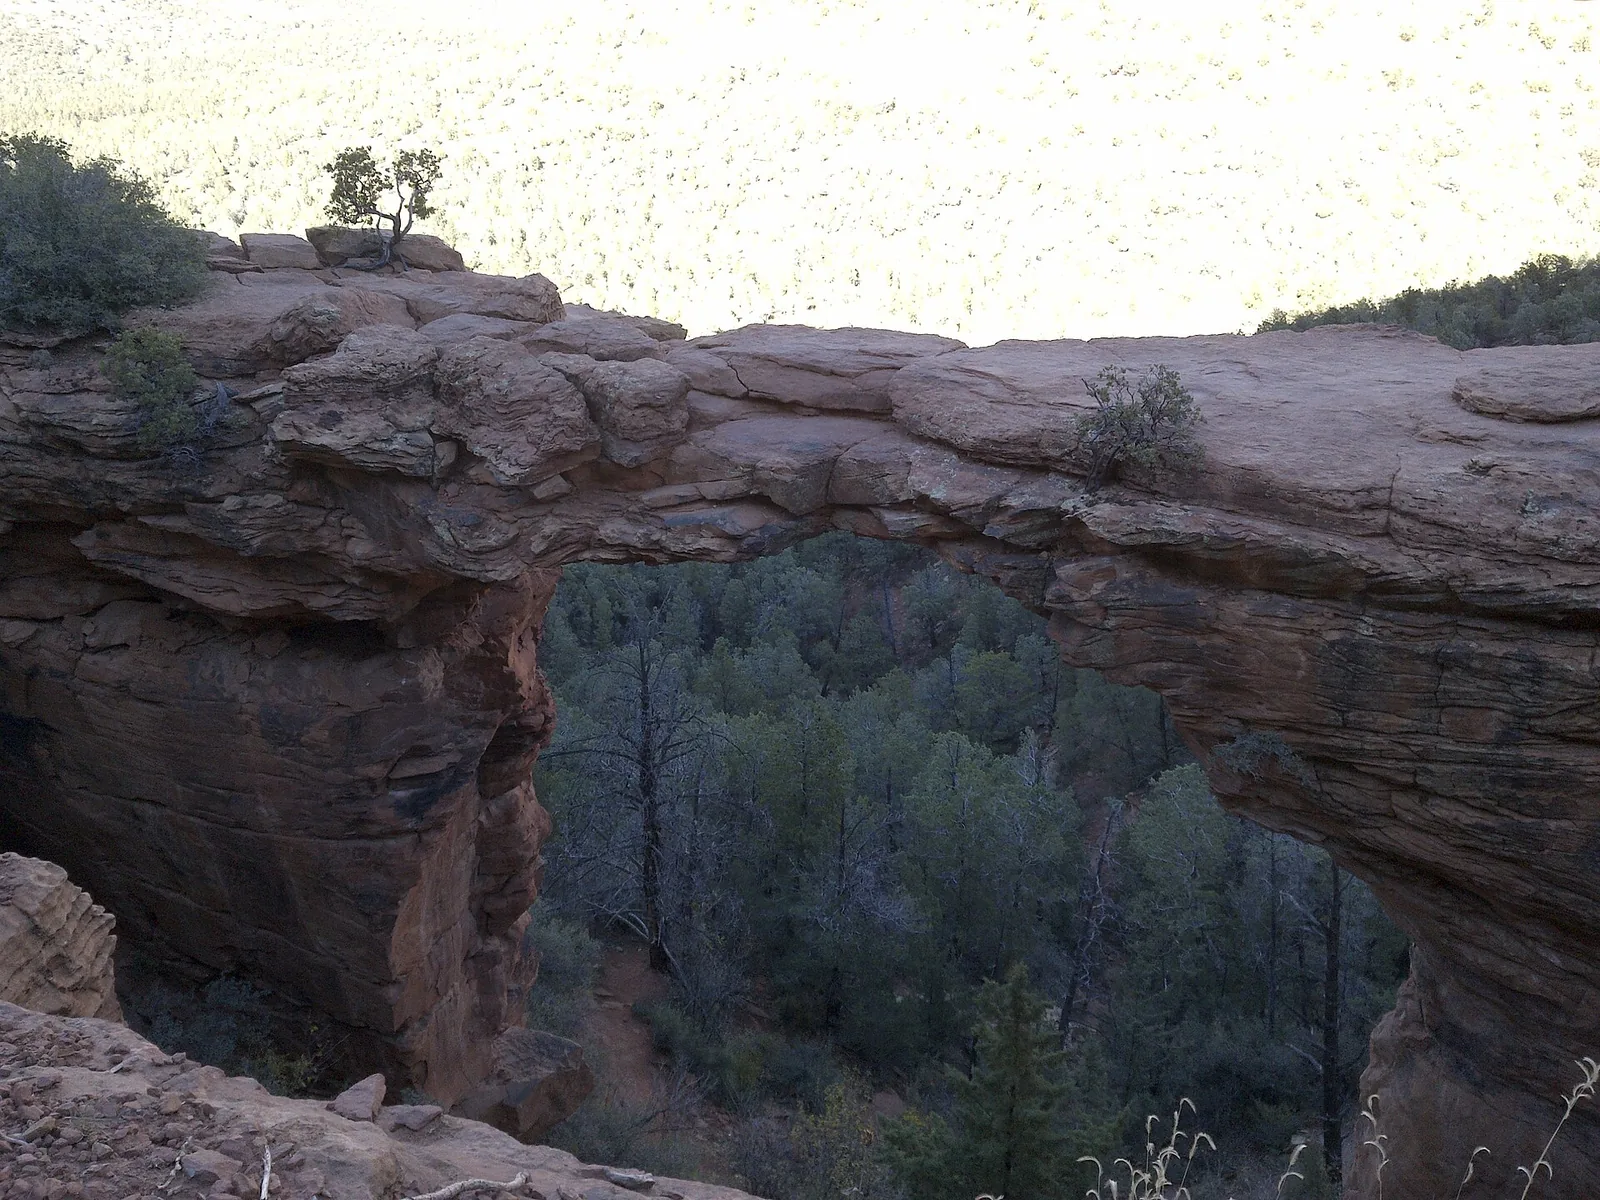
Devil’s Bridge is a natural arch carved out of Coconino sandstone over millions of years by wind and water. Technically it’s an arch, not a bridge — a bridge spans water, and there’s no creek under this one — but the name stuck and nobody’s changing it now. It’s the largest formation of its kind in the Sedona area, and the thing that makes it special is that you can walk right out onto the top of it. Most natural arches you admire from a distance. This one you stand on.
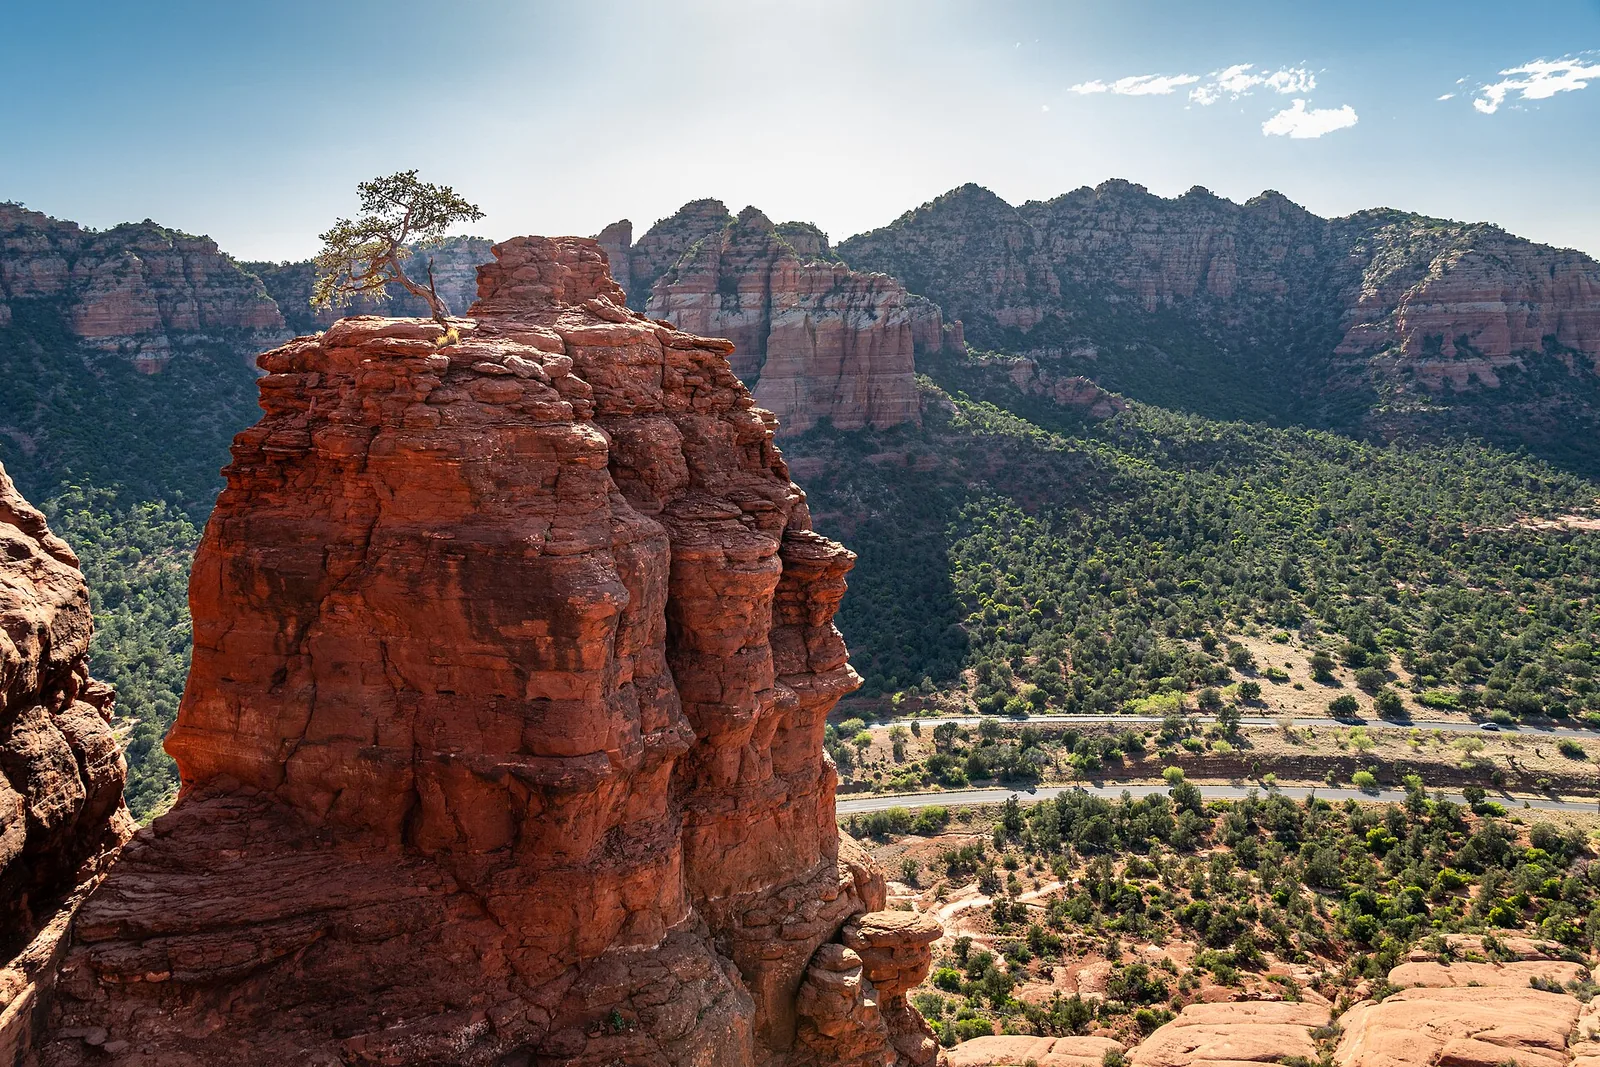
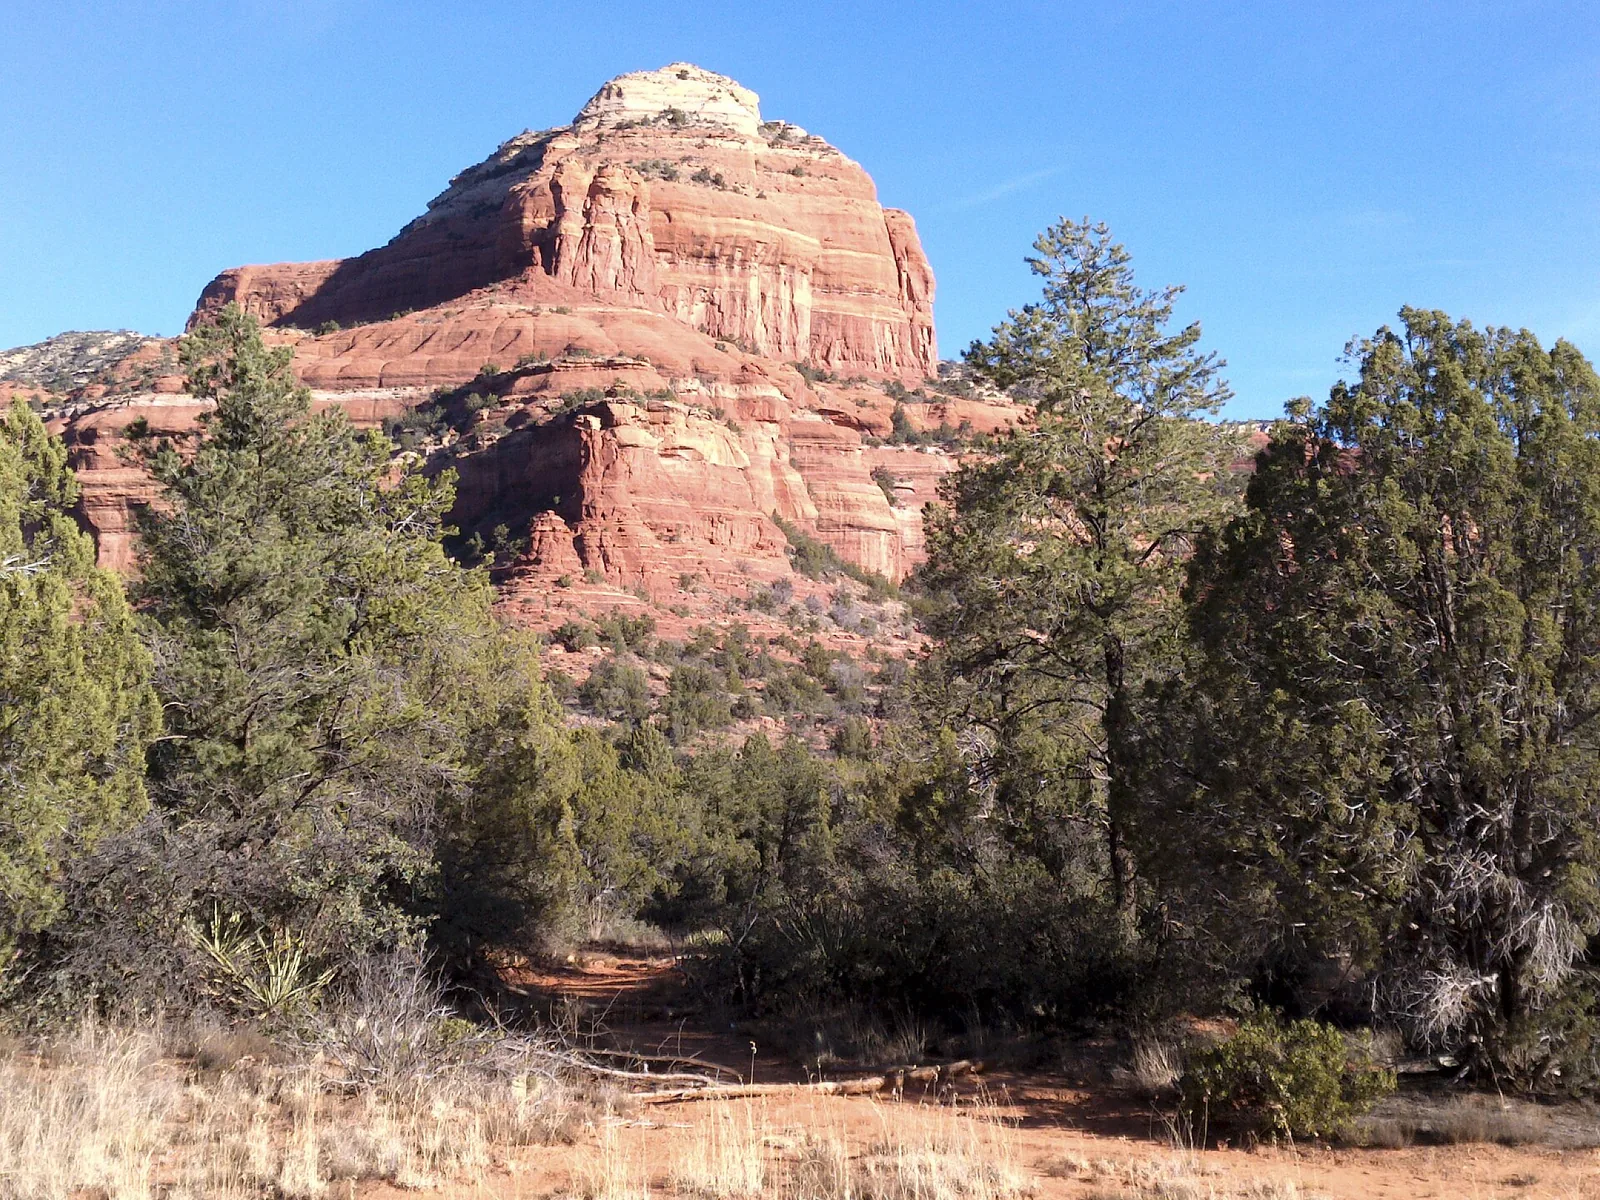
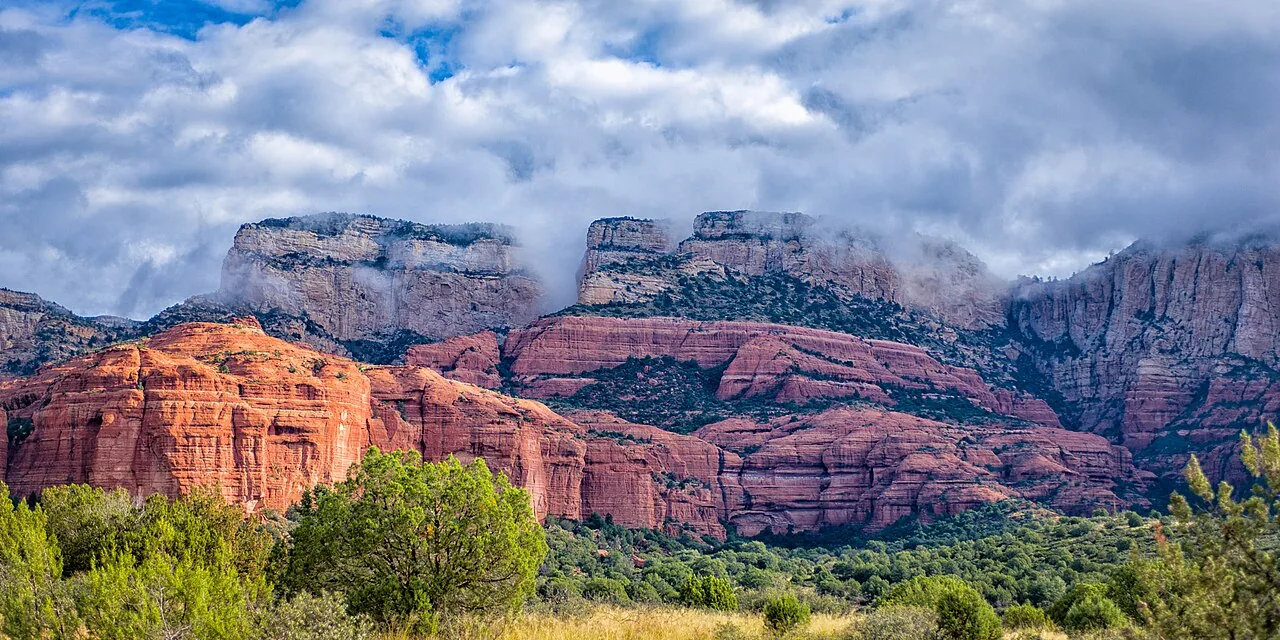
The arch sits at roughly 5,100 feet of elevation, and from the top you get a wide-open view across Red Rock Country — sandstone buttes, juniper and pine, and the long red ridgelines that make this corner of Arizona look like nowhere else. The span is around five feet wide at its narrowest, with drop-offs on both sides, which is exactly what makes the classic photo so dramatic.
A bit of geology for context, because it actually changes how you see the place: the rock is Coconino sandstone, the same pale, cross-bedded layer you’ll spot in cliffs all over northern Arizona, laid down as ancient sand dunes and later cut and undercut by wind and seeping water until a slab of it spanned the gap. The reddish tint at the surface is iron oxide — rust, essentially — staining rock that’s otherwise closer to cream. Standing on a feature that took that long to form, and that won’t last forever in geologic terms either, is part of why it sticks with people.
It’s worth saying plainly: this is a moderate hike with a big reward, and that combination is precisely why it’s so busy. You’re not earning solitude here. You’re earning a remarkable view and a photo you’ll actually want to print. If you want the same red-rock drama with fewer people, Bear Mountain or Boynton Canyon deliver — but they ask more of your legs. Devil’s Bridge is the one you do because it’s iconic, and it earns the reputation.
How to Get There: The Three Routes
This is the single most confusing thing about Devil’s Bridge, so let’s lay it out clearly. The arch has one final approach trail, but there are three different ways to reach the start of it, and they differ enormously in length and in what kind of vehicle you need.
The whole knot of confusion comes down to Forest Road 152 (an unpaved continuation of Dry Creek Road). The actual Devil’s Bridge Trailhead sits up that rough dirt road. If you can get a high-clearance vehicle to that upper trailhead, your hike is short. If you can’t — and most rental cars and sedans absolutely cannot — you start farther out and walk in.
Route 1: Mescal Trailhead or Dry Creek Vista (the long way, ~4.2 miles round trip)
This is what most people actually do. You park at either the Mescal Trailhead or the paved Dry Creek Vista lot, then connect via the Chuckwagon Trail (and the Mescal or Dry Creek Vista trails) to reach the Devil’s Bridge Trail. From there it’s the final climb to the arch.
- Distance: about 4.2 miles round trip
- Elevation gain: roughly 400 feet
- Terrain: mostly flat, scenic single-track and an old road bed through juniper and pine, then the steep final section
- Vehicle: any car is fine to reach these trailheads
The walk in is pleasant — it’s open desert with red-rock views the whole way, not a slog. Plenty of people consider the longer approach part of the appeal.
Route 2: Devil’s Bridge Trailhead via Forest Road 152 (the short way, ~1.8 miles round trip)
If you have a true high-clearance 4x4 and you’re comfortable on rough dirt roads, you can drive Forest Road 152 to the Devil’s Bridge Trailhead. From there it’s roughly one mile to the arch — about 1.8 to 2 miles round trip with the same ~400 feet of gain packed into a shorter, steeper push.
A few honest cautions about FR 152:
- It is genuinely rough — rutted, rocky, and slow. This is not a “my crossover will be fine” road. It chews up low-clearance vehicles.
- Parking at the upper trailhead is very limited and fills early. Even if your vehicle can make it, you may not find a spot.
- After rain the road can be impassable, and it’s a bad place to get stuck.
- Your rental car agreement almost certainly forbids unpaved forest roads. If you damage a rental out there, that’s on you.
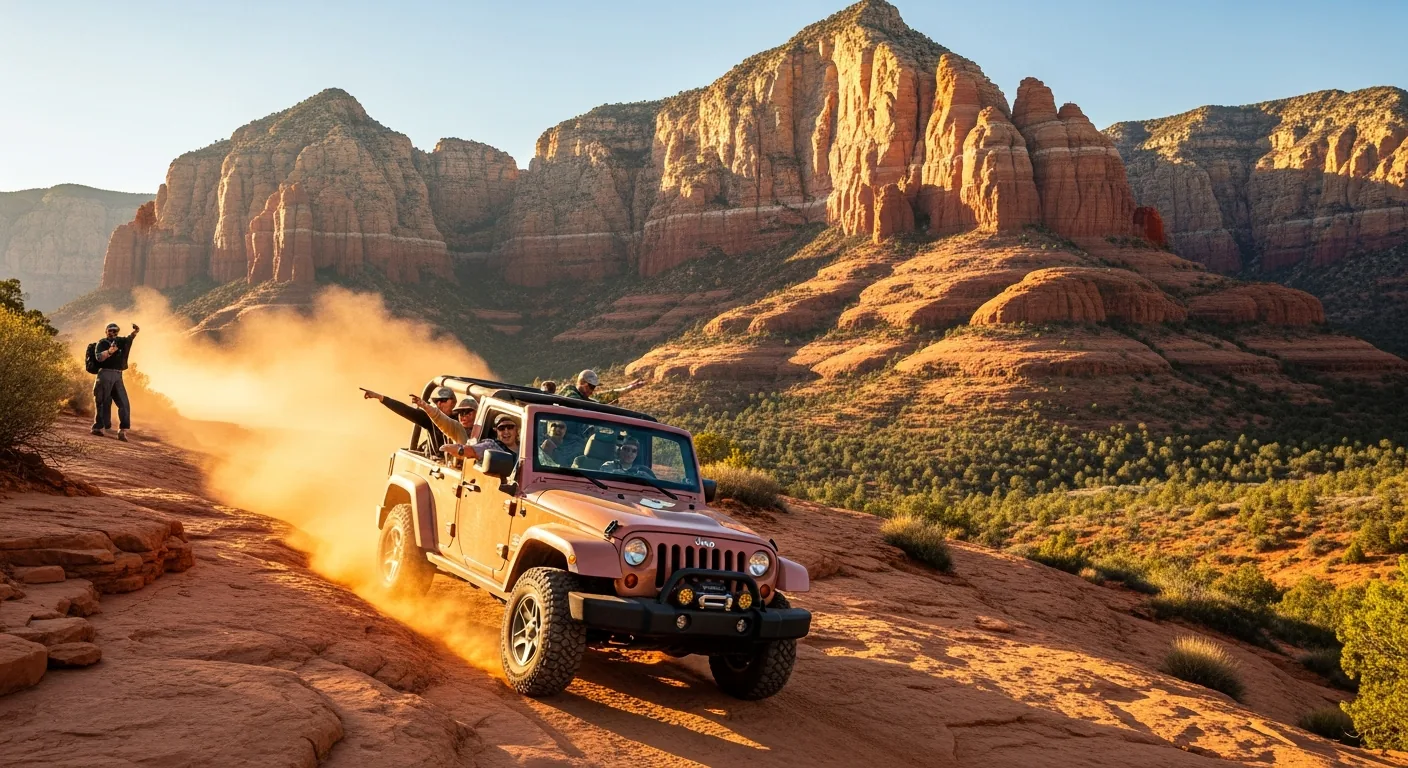
If you booked a Jeep tour, your guide can take you up here — and a Jeep tour is a perfectly good way to experience this part of the backcountry without abusing your own car.
Route 3: Via Deadman’s Pass (the variation)
There’s a longer connector via Deadman’s Pass that some hikers use to stitch together a bigger loop. It’s quieter but longer and not the standard way in. If you’re new to the area, stick with Route 1.
Here’s a quick comparison:
| Starting point | Round-trip distance | Vehicle needed | Best for |
|---|---|---|---|
| Mescal Trailhead | ~4.2 miles | Any car | Most hikers; free shuttle access |
| Dry Creek Vista | ~4.2 miles | Any car | Most hikers; free shuttle access |
| Devil’s Bridge TH (FR 152) | ~1.8–2 miles | True high-clearance 4x4 | Experienced off-road drivers, Jeep tours |
Parking, the Free Shuttle, and the Red Rock Pass
Parking is the real bottleneck at Devil’s Bridge, and it’s worth understanding before you drive out and find every lot full by 8 a.m.
The Sedona Shuttle (the easy answer)
The city of Sedona runs a free shuttle to the trailheads, and Devil’s Bridge is one of the marquee destinations it serves. You park for free at the West 89A Park and Ride, hop on the trailhead route, and it drops you at Dry Creek Vista and Mescal — both of which connect to Devil’s Bridge.
- Cost: free to ride, and free to park at the park-and-ride
- Route: the trailhead route serving Dry Creek Vista and Mescal trailheads
- Reservations: not needed
- Days/hours: it runs limited days of the week and seasonal hours (recently Thursday through Sunday, with hours adjusted in extreme summer heat)
This is the lowest-stress option by a wide margin. No fighting for a spot, no worrying about the dirt road, no Red Rock Pass needed for the ride. Because the schedule changes seasonally — and they shorten hours during dangerous summer heat — check the current Sedona Shuttle schedule before you go.
Local tip: Take the shuttle even if you have a car you’d happily drive out. The trailhead lots fill before most people finish breakfast, and circling a full dirt lot in the morning sun is a miserable way to start a hike. The shuttle removes the single most stressful part of doing this trail.
Driving and the Red Rock Pass
If you drive and park at a Coconino National Forest trailhead in the Dry Creek area, you need a Red Rock Pass displayed in your vehicle. As of recent pricing it runs about:
- $5 for a day
- $15 for a week
- $20 for an annual pass
An America the Beautiful interagency pass is accepted in place of the Red Rock Pass, so if you already have one for the national parks, you’re covered. You can buy a Red Rock Pass at trailhead kiosks, the Sedona Visitor Center, many local shops, and online through Recreation.gov. Prices and the program details change, so confirm the current cost before you rely on these figures.
One nuance worth knowing: if you ride the free shuttle, you do not need a Red Rock Pass for the trail access. The pass is tied to parking a vehicle at the trailhead.
Difficulty and What to Expect on the Trail
Devil’s Bridge is rated moderate, and that’s a fair rating with one asterisk: the final stretch.
For most of the hike — whichever route you take in — the trail is well-built and not technically hard. You’re walking on good single-track and old road bed, gaining elevation gently. The total gain is around 400 feet from the lower trailheads (the Forest Service lists roughly 371 feet of climb from the upper trailhead), which isn’t much spread over the distance.
The character changes in the last quarter mile or so. The trail narrows, gets rocky, and climbs a set of steep rock steps — a natural staircase carved and worn into the sandstone. It’s exposed, meaning there are drop-offs and no railings, and it requires using your hands in a spot or two. It’s not technical rock climbing, but it’s the part where you slow down, watch your footing, and take it one step at a time. People of average fitness do it all the time; just don’t be surprised when the easy walk turns into a real climb at the end.
Once you top out, you’re at the base of the arch. To get the famous shot, you walk out onto the bridge itself.
A real note on the heat
This trail has very little shade. None of the routes offer meaningful tree cover near the arch, and the sun in Red Rock Country is brutal for most of the year. In summer, midday temperatures here are genuinely dangerous — Sedona sits high enough to feel deceptively pleasant in the shade and then cook you in the open. Heat is the thing that actually hurts people on this hike, far more than the ledge. Plan around it, don’t tough it out.
The Famous Photo (and the Line)
Let’s be honest about the bridge photo, because it’s why a lot of people come.
The arch is around five feet wide at its narrowest point, with sheer drops on either side. In photos it looks like a knife edge; in person it’s wider and more solid than it appears, and standing out on it is less terrifying than the pictures suggest — as long as you’re careful and not clowning around. The drama is real, but so is the rock.
The catch is the line. To get a clean photo of yourself out on the bridge, you wait your turn — and that turn can take anywhere from 30 minutes to a couple of hours at peak times. People genuinely queue up. It’s an unspoken system: everyone takes their photos, then steps off so the next group can go. Be a decent human about it — don’t hog the spot for a twenty-minute photoshoot while forty people bake in line behind you.
A couple of practical notes on the photo itself. The most flattering shots are taken from the side, where another person stands back on the solid rock near the base of the arch and shoots across as you walk out — that’s the angle that makes the bridge look like a thin ribbon in the sky. Hand your camera to someone in line and offer to return the favor; almost everyone does. And the light matters more than most people expect: a harsh overhead midday sun flattens the rock and blows out the sky, while early or late light gives you depth and color. So the same timing that beats the crowds also gets you the better picture, which is a rare case of everything lining up in your favor.
If a long wait sounds like your idea of misery, the fix is timing, which brings us to the next section.
Best Time of Day and Season
Timing is the difference between a magical morning and a frustrating, sweaty wait. Here’s the straight version.
Go early — before 7 a.m. if you can. Early morning gets you parking (or an easy shuttle), cooler temperatures, soft light, and dramatically shorter lines. Sunrise is reliably the least crowded time to be at the arch.
Avoid roughly 10 a.m. to 3 p.m. This is when the day-trippers from Phoenix and the tour groups arrive, the heat peaks, and the photo line is at its worst. It’s the worst of all worlds.
Late afternoon is the photographer’s secret. A few hours before sunset, the low sun rakes across the sandstone and lights up the red tones beautifully, and the crowds have often thinned out. Some people report finding parking again around 3:30 to 4 p.m. Just give yourself enough daylight to hike out — you don’t want to be navigating those rock steps in the dark.
By season:
- Spring and fall are ideal — comfortable temperatures, manageable but real crowds.
- Winter is quieter and often beautiful, with the occasional dusting of snow on red rock. Watch for ice on the steps and a possibly impassable FR 152.
- Summer demands an early start. Hike at first light or skip the midday entirely. This is not a trail to attempt at noon in July.
What to Bring
Nothing exotic, but the desert is unforgiving about the basics:
- Water, more than you think. At least a liter or two per person, more in heat. There is no water on the trail.
- Sun protection. Hat, sunglasses, sunscreen, and ideally a sun shirt. There’s no shade to hide in.
- Real shoes. Trail runners or hiking shoes with grip — the final rock steps are no place for flip-flops or smooth-soled sneakers.
- A small snack if you’re doing the longer route.
- Your phone or camera, obviously, but secure it. People drop phones off the ledge. A wrist strap or zipped pocket is smart.
- A downloaded map. Cell service is spotty, and the trail junctions on the longer routes can be briefly confusing. Knowing how to get around Sedona and having an offline map saves headaches.
Dogs
Leashed dogs are allowed on Devil’s Bridge — it’s on Coconino National Forest land and the standard leash rules apply. That said, think hard about whether your dog should come.
The final rock staircase and the exposed approach are genuinely tough for many dogs, especially smaller ones or those uneasy on steep, uneven rock. The lack of shade and the hot sandstone (which can burn paw pads) are real hazards in warmer months. Bring extra water for your dog, test the rock temperature with your hand, and be ready to turn back at the steps if your dog isn’t comfortable. A confident, fit, well-conditioned dog can do this hike; not every dog should.
Accessibility
I’ll be straight with you: Devil’s Bridge is not an accessible trail. The longer routes are long and rough underfoot in places, and the final approach involves steep, uneven rock steps and exposure that rule it out for wheelchairs, strollers, and anyone with significant mobility limitations.
If you want red-rock scenery without that kind of effort, you have good options nearby. The drive on the Red Rock Scenic Byway delivers jaw-dropping views from the comfort of your car, and the Chapel of the Holy Cross offers a dramatic vantage with far less walking. Several of Sedona’s easier hikes give you the landscape without the staircase.
How to Avoid the Crowds
Devil’s Bridge is popular for a reason, and you’ll never have it entirely to yourself — but you can absolutely dodge the worst of it:
- Start at sunrise. This is the single biggest lever. Early is quiet, cool, and uncrowded.
- Take the shuttle. It removes the parking gamble entirely and gets you there early without circling lots.
- Go on a weekday if your schedule allows. Weekends are noticeably busier.
- Consider late afternoon as a second-best window for thinner crowds and great light.
- Skip holiday weekends for the arch — that’s when it’s at its most carnival-like.
Do those things and the wait at the bridge shrinks from “two hours” to “a few minutes.”
Safety on the Ledge
The arch isn’t dangerous if you respect it. The bridge is solid and wider than photos suggest, and thousands of people walk out onto it safely every week. The danger comes from carelessness, not from the rock.
A few sensible rules:
- Watch your footing on the steps. The natural sandstone stairs are uneven and can be slick when wet or icy. Most minor injuries here happen on the approach, not the arch.
- Don’t back up for a photo. People stepping backward to frame a shot is how accidents happen near edges. Look where your feet are going.
- Mind the wind. It can gust unexpectedly up top.
- Keep kids and dogs close and under control on the arch.
- Don’t push your luck for a photo. No shot is worth a fifty-foot fall. If a pose feels sketchy, it is.
Treat it like the edge of a cliff with a great view — because that’s what it is — and you’ll be completely fine.
What to Pair It With Nearby
Devil’s Bridge is a half-day adventure at most, especially if you go early, which leaves plenty of time to fill. A few natural pairings:
- More red-rock hiking. The Dry Creek and Boynton areas are stacked with trails. Soldier Pass (with its sinkhole and arches) and Boynton Canyon are both close and excellent.
- A scenic drive. Cap the day on the Red Rock Scenic Byway or wander up Oak Creek Canyon for shade and water.
- A real meal. You’ll have earned it. Sedona has plenty of good restaurants with views and solid Mexican and Southwestern spots to refuel.
- A cool-down. If you went early and the day heats up, a spa afternoon is a perfect counterweight to a dusty morning on the rocks.
And if you’re staying with us, the nicest part of an early Devil’s Bridge start is what comes after: you’re back at Pickler House by mid-morning with the whole day ahead, and a couple of rallies on the indoor, climate-controlled court are a pretty good way to shake the hike out of your legs while everyone else is still stuck in the photo line.
Devil’s Bridge lives up to the hype — it’s iconic for good reasons. Go early, bring water, respect the heat and the edge, and you’ll come away with the photo and the memory both. Then come back to the house and play.
Frequently asked questions
How long is the Devil's Bridge hike?
Do I need a high-clearance vehicle?
Do I need a Red Rock Pass for Devil's Bridge?
When is the best time to hike Devil's Bridge?
How long is the wait for a photo on the bridge?
Are dogs allowed on Devil's Bridge?
Stay where you can rally any season
Sedona Pickler is a private West Sedona vacation home with its own indoor, climate-controlled pickleball court — a short drive from the trailheads, viewpoints and restaurants in this Sedona guide. Play at sunrise or after dark, in any weather.
Check availability on Airbnb